Camera technology is so sophisticated these days that it’s easy to forget about the possibility of taking photos without even so much as a lens. The phenomenon of the camera obscura, where rays of light are focused by a small aperture to create an image on a surface, was recognised at least two millennia ago and was later harnessed in the form of a pinhole camera.
You’d think in these days of super-sharp lenses there would be little point in using a pinhole camera – after all, how could such a basic concept produce images of any worth? Such technology has an appeal for many photographers though. There’s something enticing about the simplicity and the infinite depth of field these cameras produce - a look no lens can yet replicate.
Ondo 6x6 III Pocket Camera in ash
Build your own or buying off the peg
Many people build their own pinhole camera, from a box or tin and photosensitive paper. My introduction though came with an Ondu 135 Pocket camera last year. Created by Elvis Halilović and his team in their Slovenian workshop, I was enchanted by the craftsmanship of these delightful wooden cameras. When mine arrived I could see the potential from the first roll of film, but my photos never had quite the sharpness I was after. Research soon showed me that the size of the negative is crucial in pinhole photography and I realised I should perhaps have chosen a larger model. In October 2018 Elvis and his team launched the Mark III version of the Ondu on Kickstarter so I took the plunge and backed the campaign, selecting a 6x6 Pocket camera to shoot medium format film.
The simple film winding knobs, with engraved arrows to show the direction to wind
What’s changed in the Mark III camera?
The newest Ondu cameras have the same beautiful craftsmanship as their predecessors, but this time with a sharper silhouette. The corners are a little crisper and each camera is made from a single type of wood, rather than a combination of two. I went for ash, in contrast with the walnut of my original Ondu, with silver film winding knobs. The biggest change though is the shutter mechanism.
Previous generations of Ondus had a wooden shutter which you flipped upwards to reveal the pinhole beneath. This time it’s triggered with a metal shutter, which pops up and down with the flick of a finger, and a satisfyingly definite click. This is a big improvement. With an aperture of f125, exposure times are always going to be lengthy, so keeping everything still is crucial. The new shutter action makes for less camera shake and I’ve found it much easier to achieve still shots.
The mark III’s new shutter mechanism
How does the Ondu work?
Put simply, it’s a wooden box, with a very fine pinhole to focus the rays of light. No need for focusing – with a pinhole camera everything is in focus, whether you like it or not!
Achieving the perfect exposure
Of course, modern cameras have in-built light meters, so exposing photos perfectly is easy. The Ondu take this back to basics, with just a simple wooden exposure chart. To use this all you need is a digital camera or a smartphone metering app set to f22. Once you’ve got your f22 meter reading, the chart converts this into something suitable for the Ondu’s f125 aperture and you’re good to go.
Even the exposure chart is beautifully made from wood
As a relative newcomer to pinhole photography, I didn’t take reciprocity failure into account with my first film. This is a quirk of shooting on film, where long exposures must sometimes be considerably longer than expected to achieve a good exposure. Some films suffer from this more than others, but my solution is to use the fantastic Pinhole Assist app on my iPhone. In the app’s settings I select the model of my pinhole camera plus the film I’m shooting with. I then aim my phone’s camera at my subject and it tells me exactly how long I need to keep the shutter open, taking reciprocity failure for that particular film into account. It makes exposures an absolute breeze and I can’t recommend it enough.
Bonus features
Not content with just updating their original design with a new look, the Ondu team took the Mark III as an opportunity to add some entirely new features. One of these was the creation of the ‘Rise’ models. These have no fewer than three pinholes at different heights, allowing photographers to capture subjects such as architecture without converging vertical lines. Much as I love architectural photography, I wanted to stick with a simpler formula so I didn’t select this option.
The other handy addition is the ability to use filters. Film photographers often use coloured filters to control the way certain tones appear in their pictures – for instance using an orange filter to enhance a blue sky in monochrome images. The Mark III Ondu makes filter use possible with the addition of a bracket containing a 58mm filter ring. This is attached magnetically, so if you don’t need filters it can stay in your camera bag. I haven’t tried using this yet, but it’s on my to-do list once I’ve bought some coloured filters.
A magnetic bracket to attach 58mm filters
Another small but handy tweak is the addition of two lugs and the inclusion of a shoulder strap with the Mark III. Like the filter mount, I haven’t felt the need to attach mine as it’s almost always mounted to a tripod, but for some people this will be really useful.
The final option I did plump for was a set of 3D printed adapters to enable me to shoot 35mm film in my new camera. While the smaller negatives will probably reduce the overall sharpness, shooting this film in a larger format camera will allow me to include the sprocket holes in my compositions. A small thing, but I will certainly give it a try sometime. The adapters added very little to cost and it seemed silly not to order them, just for the flexibility of format they offer me.
3D printed adapters to use 35mm film
Photography as a tactile experience
Modern cameras are fairly soulless creations, if I’m completely honest – boxes of plastic, metal and electronics. They function perfectly well but are hardly designed to move the emotions. In contrast, the Ondu is an absolute pleasure to handle. There’s something so tactile about wood that I find myself caressing my Ondu just to enjoy the grain of the ash and its beautifully crafted lines. Whenever I’ve been out shooting with either of my Ondu cameras they’ve received admiring looks and people will often come over to ask about them. That’s certainly not something you’d expect to experience with a digital camera!
A peak inside the camera, including a spool to which takes up the 120 fllm as you shoot. The camera back is attached with tiny but very strong magnets
Does the Ondu Mk III live up to expectations?
Absolutely! I’m still learning to get the best from pinhole photography, but even from the first roll of film I could see the benefits of shooting a larger format. Pinhole photos will never have the same degree of crispness as an image from a camera with a lens. But when viewed at a moderate distance the 120 negatives offer a very satisfying sharpness. I’ve shared some of my photos on social media recently, and on more than one occasion viewers haven’t even realised they were taken on a pinhole camera. That’s quite an achievement!
The complete Ondu Mark III kit - including a shoulder strap, fabric bag and a handy elasticated band to keep your shutter closed when not shooting.
Are they any negatives?
Please excuse the pun, but no negatives that the folks at Ondu are responsible for! The 6x6 camera has a ruby window in its back to help you track how many shots you have left when winding the film on. As a newbie to 120 film I had no idea how variable these frame numbers can be. Some (Fomapan for instance) are super clear and easy to see through the window when you open it. Others (Kodak film seems a particular offender) have numbers which are faint and small – almost invisible when looking through the ruby window in overcast light. My solution is to carry a small torch to illuminate things and help me wind on accurately. I wasn’t sure if this would affect my pictures, but four rolls in I’ve noticed no adverse effects and it makes life immensely easier!
The rear panel removed, showing the ruby window to keep track of frame numbers
The other challenge is how to frame pictures accurately. A pinhole camera has no viewfinder – just a built-in bubble level and some framing lines engraved on the camera to show roughly where the extremities of the image will be. With a focal length of around 25mm, I’m quickly learning that one has to get really close to a subject to make a photo with impact. If you step back, everything just looks very small! That’s just a matter of time and experience though, so I’m looking forward to seeing my latest negatives when they come back from being developed.
Who should try pinhole photography?
Everyone! Once you accept that you’re not going to achieve absolute critical sharpness in your pictures, there’s a lot to learn from pinhole photography. Not being able to see the composition either before shooting or immediately afterwards really makes you consider the important elements in your pictures. Before opening the shutter I carefully use the framing lines to work out my composition. With infinite depth of field, it’s also important to exclude unwanted elements from the frame – after all you can’t use a large aperture to blur the background! This can only help my compositional skills when I return to my digital camera.
The final verdict…
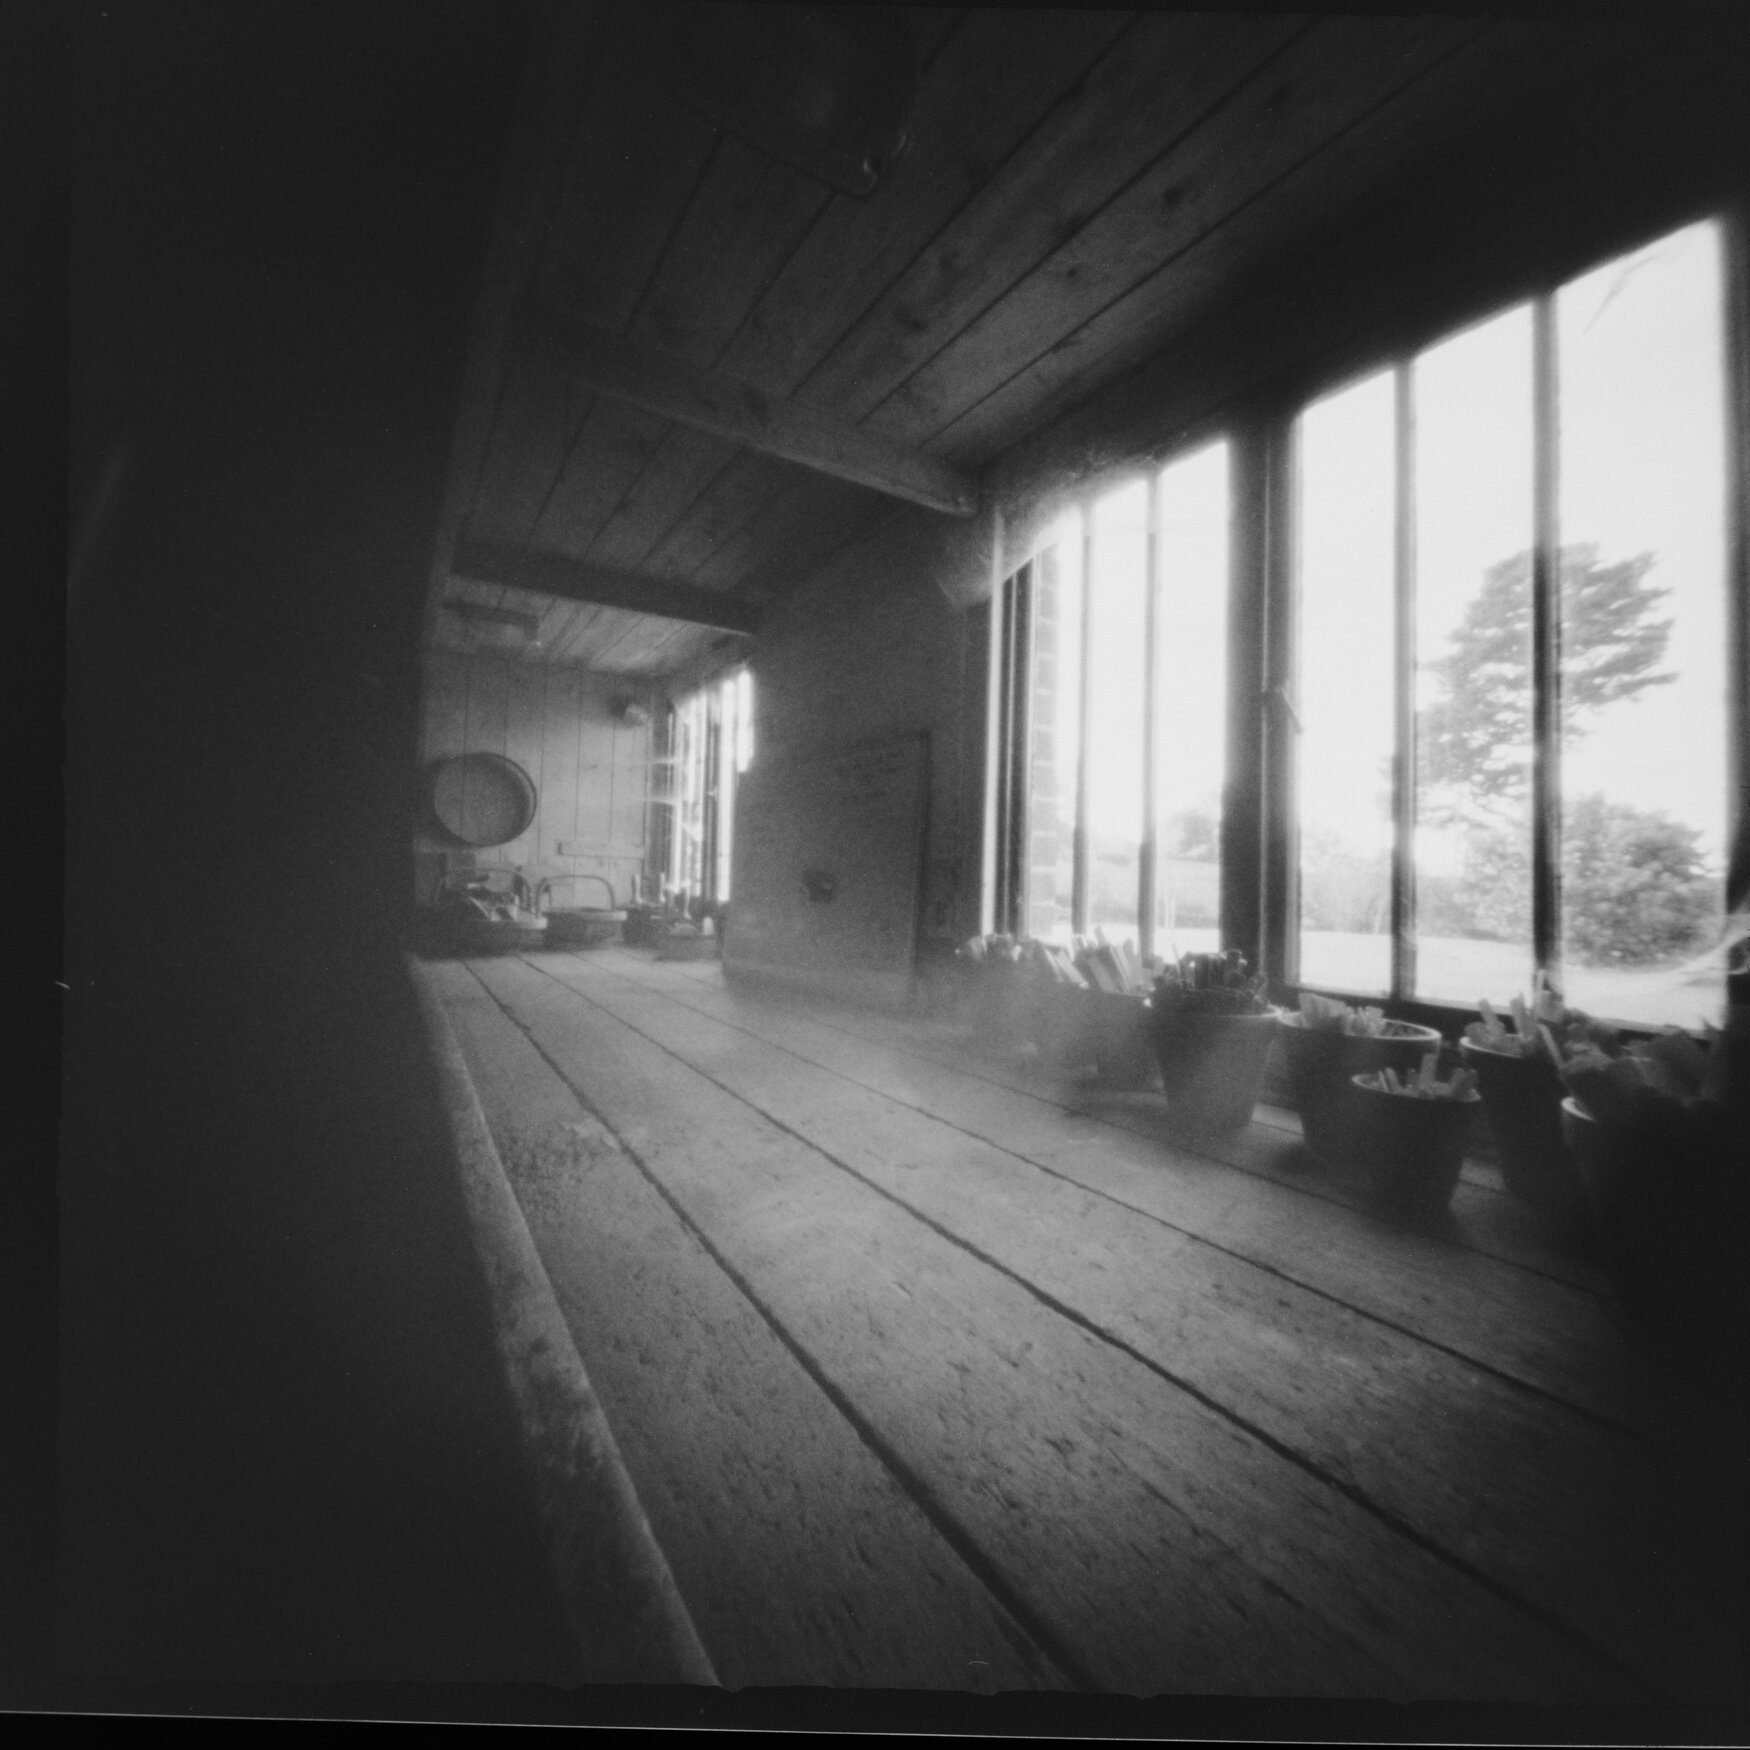
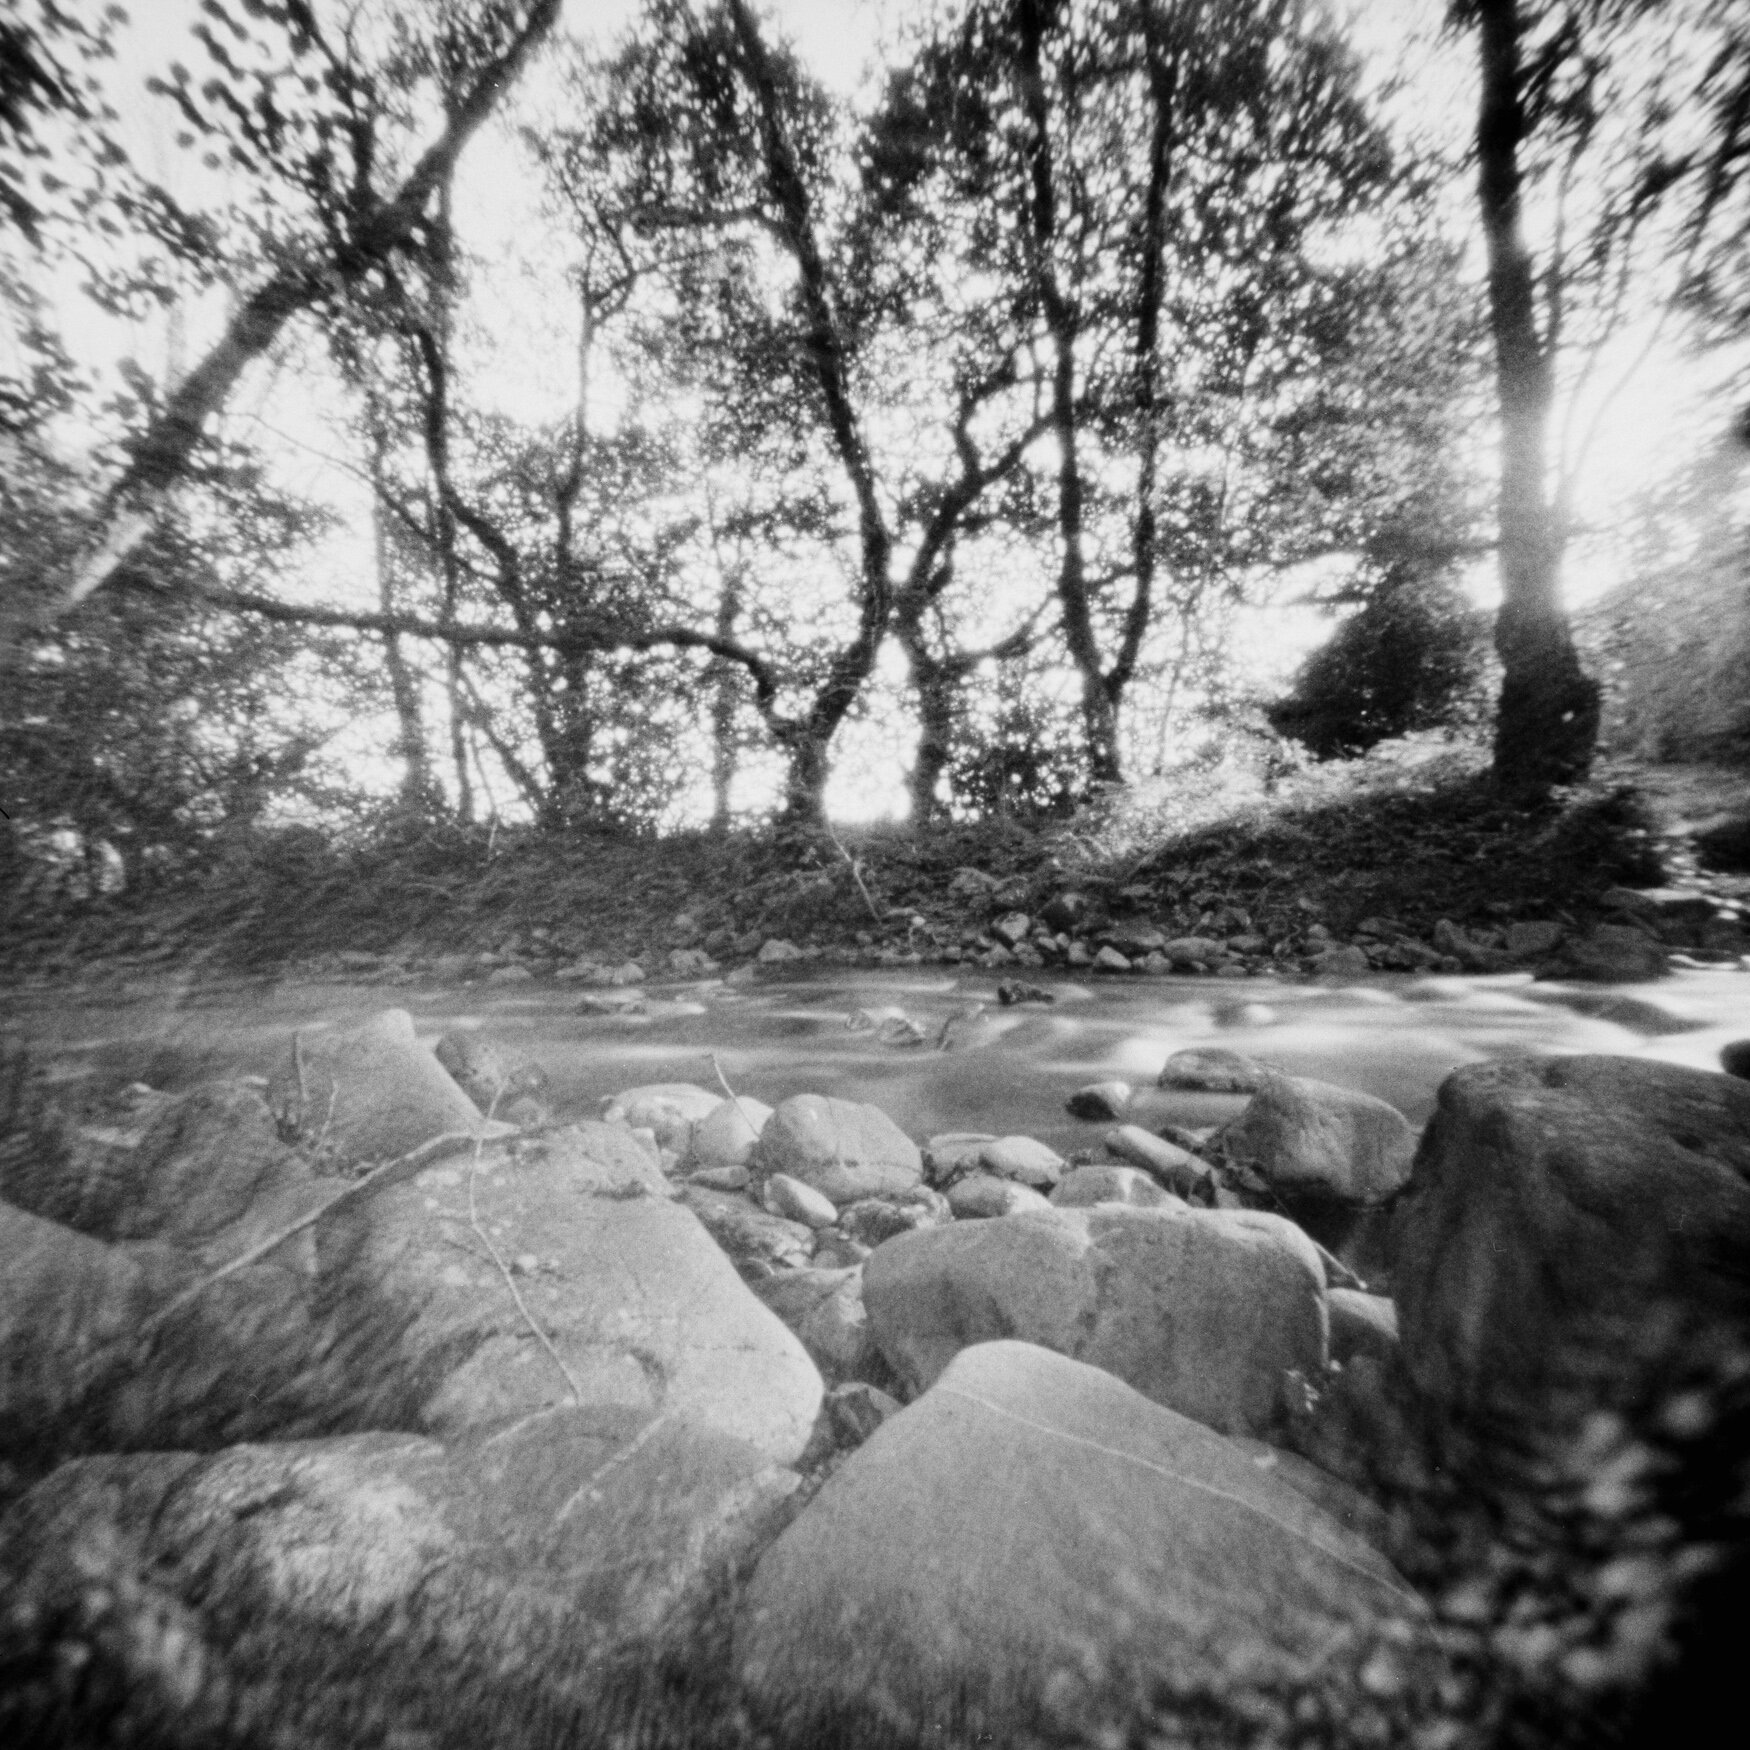
I’ve been delighted with my Ondu 6x6 Pocket Mk III. Not only is it a thing of beauty and a pleasure to handle, I love the photos it makes. They have an unmistakable pinhole look – total sharpness through the frame, while being slightly soft at the same time. In a review of a traditional camera that would be a big no-no, but here it’s a welcome feature!
The Ondu Kickstarter campaign may have long since finished, but you can still order cameras, from 35mm all the way up to 4x5 format from their website. As I mentioned earlier, they offer simple cameras like mine, as well as the more sophisticated Rise model. There are also panoramic models available for those who like to take a wider view of the world!
A selection of my photos from the camera so far - shot on a mix of Fomapan 100 and Kodak Portra 160 film. Click on any of the pictures to see them larger and scroll through the gallery.
If you fancy trying your hand at pinhole photography I can’t recommend Ondu cameras highly enough. If you don’t have the skills to build your own pinhole camera or, like me, just love the concept of a design beautifully crafted from wood, do consider an Ondu. Don’t hang around though – several models have already sold out and I’m sure the remaining ones will sell quickly!


