2020 - a year with a difference....

What can I say about 2020? It certainly wasn’t the year we all expected it to be!

My life as a working musician took a big hit when the Covid-19 pandemic struck in earnest. A never-ending stream of work cancellations left me with more time on my hands and the perfect excuse to get out and take photos. Fortunately, when we were plunged into our first lockdown no one said I couldn’t take a camera with me for my permitted daily exercise so I had one with me every step of the way!

Initially I got back into the habit of shooting and sharing new photos every day - an echo of my decade long 365 project. However, by the beginning of June I’d started a new music project, creating videos to help the amateur musicians I would usually work with to keep playing. That took up more of my time and photography reverted back to being something I did frequently, but not necessarily every single day. Even so, I’ve shared over 1500 photos on my blog through the year - not bad for a year when my travel opportunities have been so limited.

Starting to finish

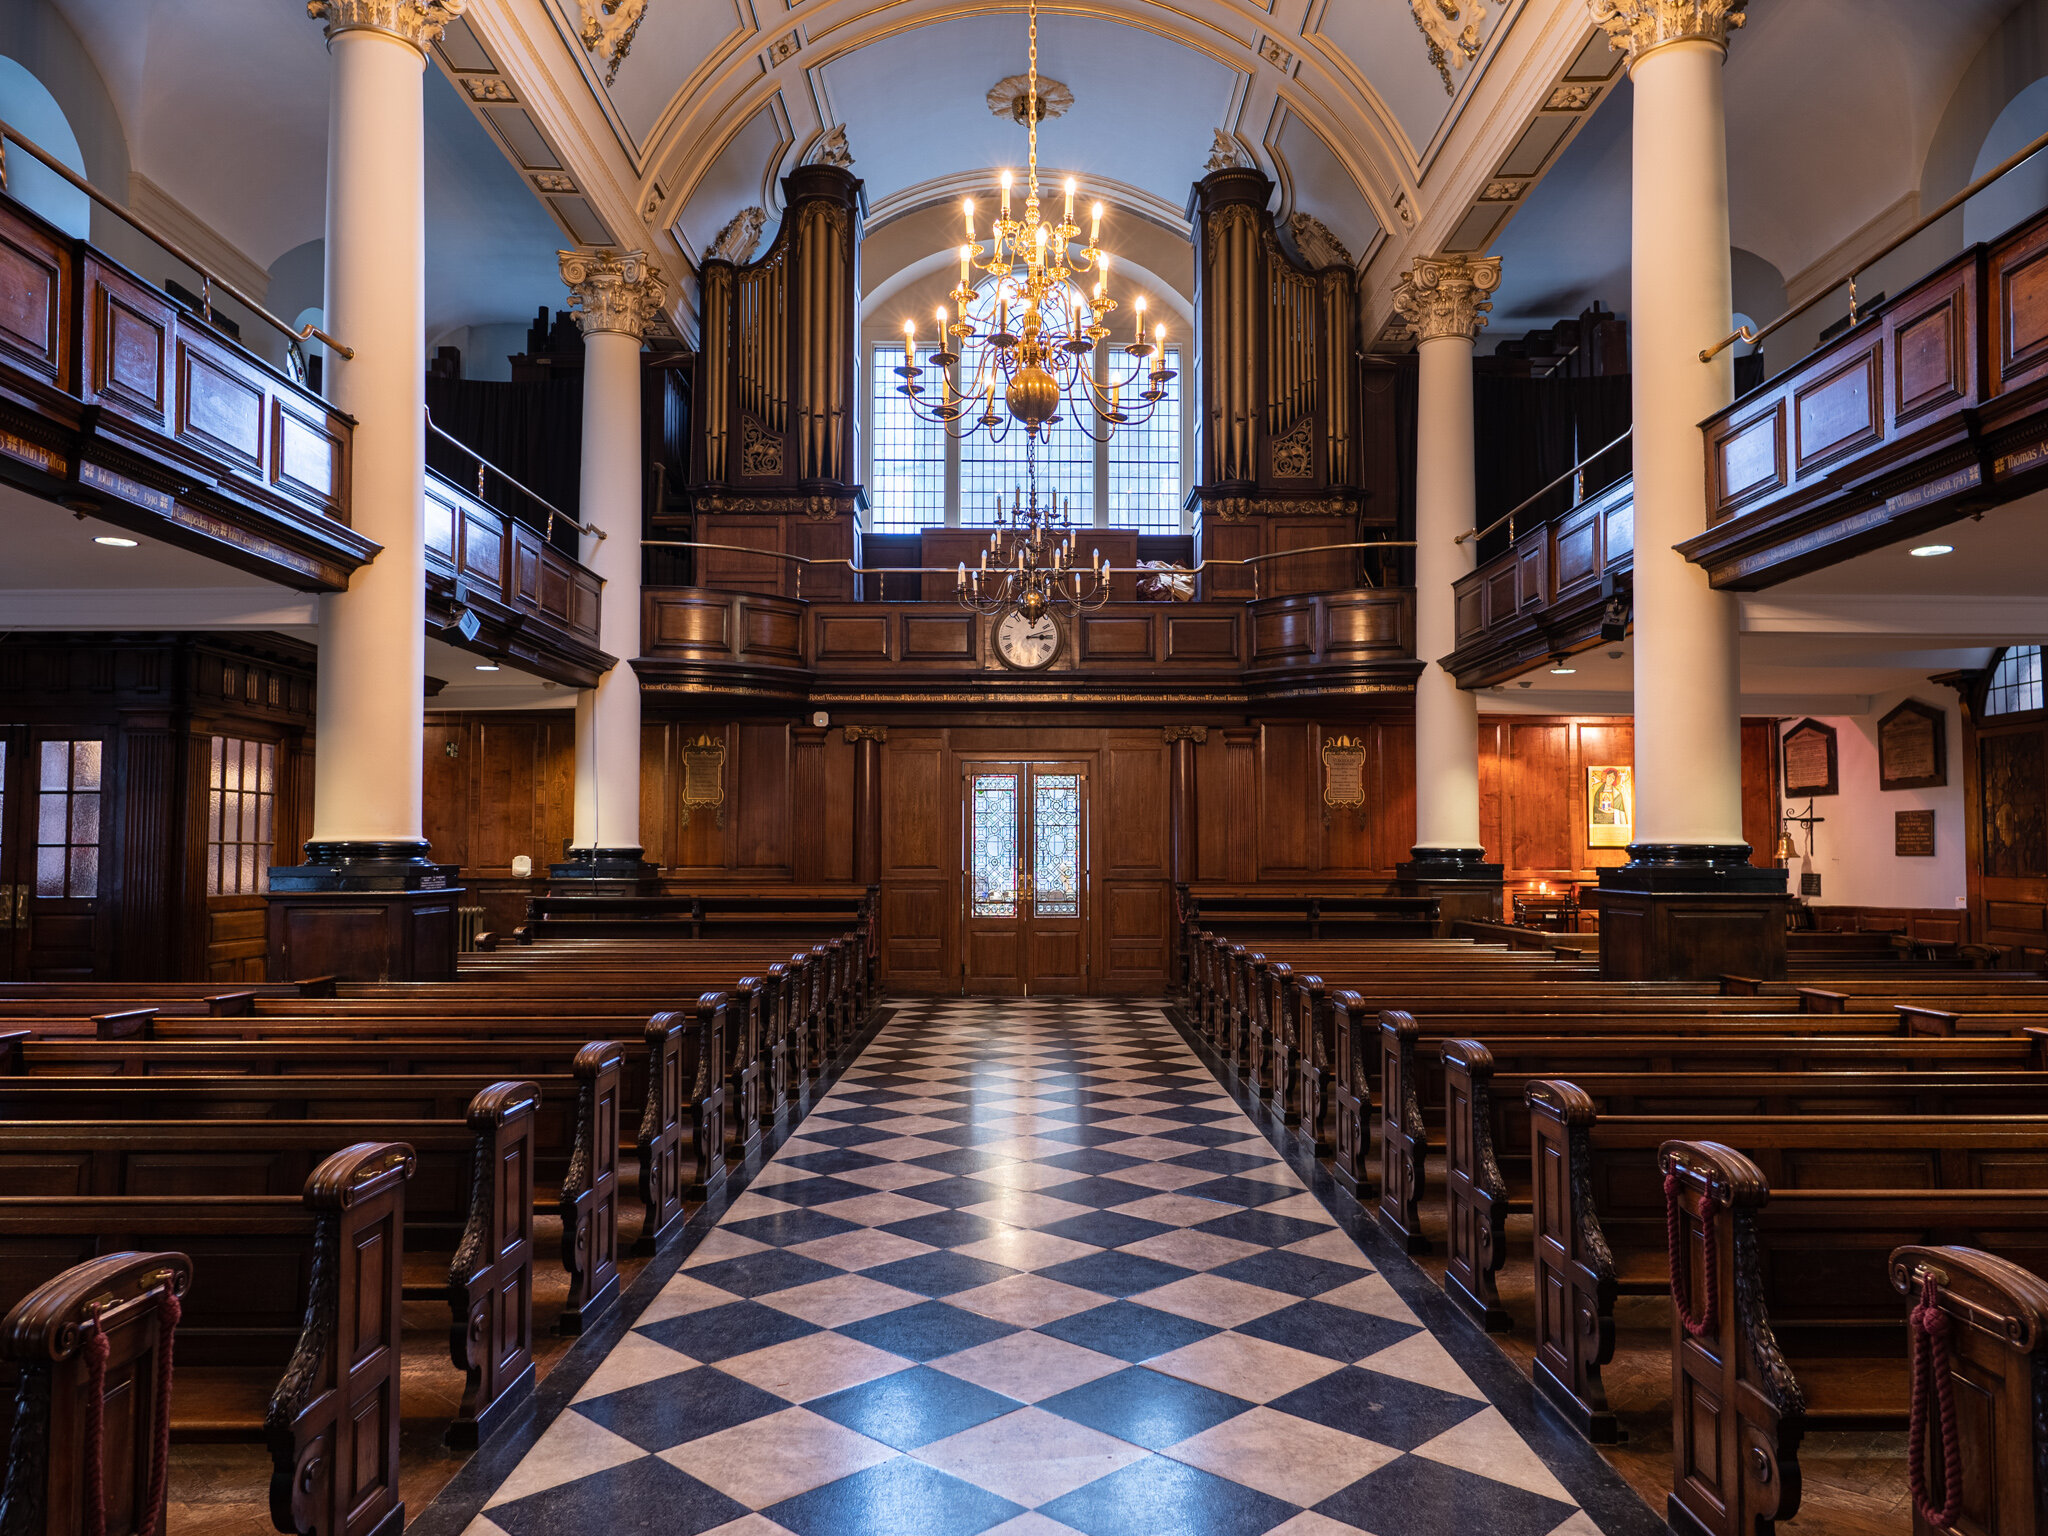
I began the year with a push to complete my longstanding City of London Churches project. With only ten churches left to visit, it seemed entirely feasible to tick these off through 2020. In January and February I photographed four new churches, plus a handful of derelict towers and made a much needed revisit to my first church, St Botolph-without-Bishopsgate.

Bevis Marks Synagogue

Bevis Marks Synagogue

One major success was receiving permission to photograph inside Bevis Marks Synagogue, which is usually off limits to photographers. I spent a happy couple of hours there, exploring every little architectural detail, not realising it would be my last for the year. In mid-March the government’s directive to stay at home came into force, putting paid to my plans. I did make it back into London a couple of times later in 2020, when the restrictions eased, but sadly the City churches remained shut.

Going back to basics

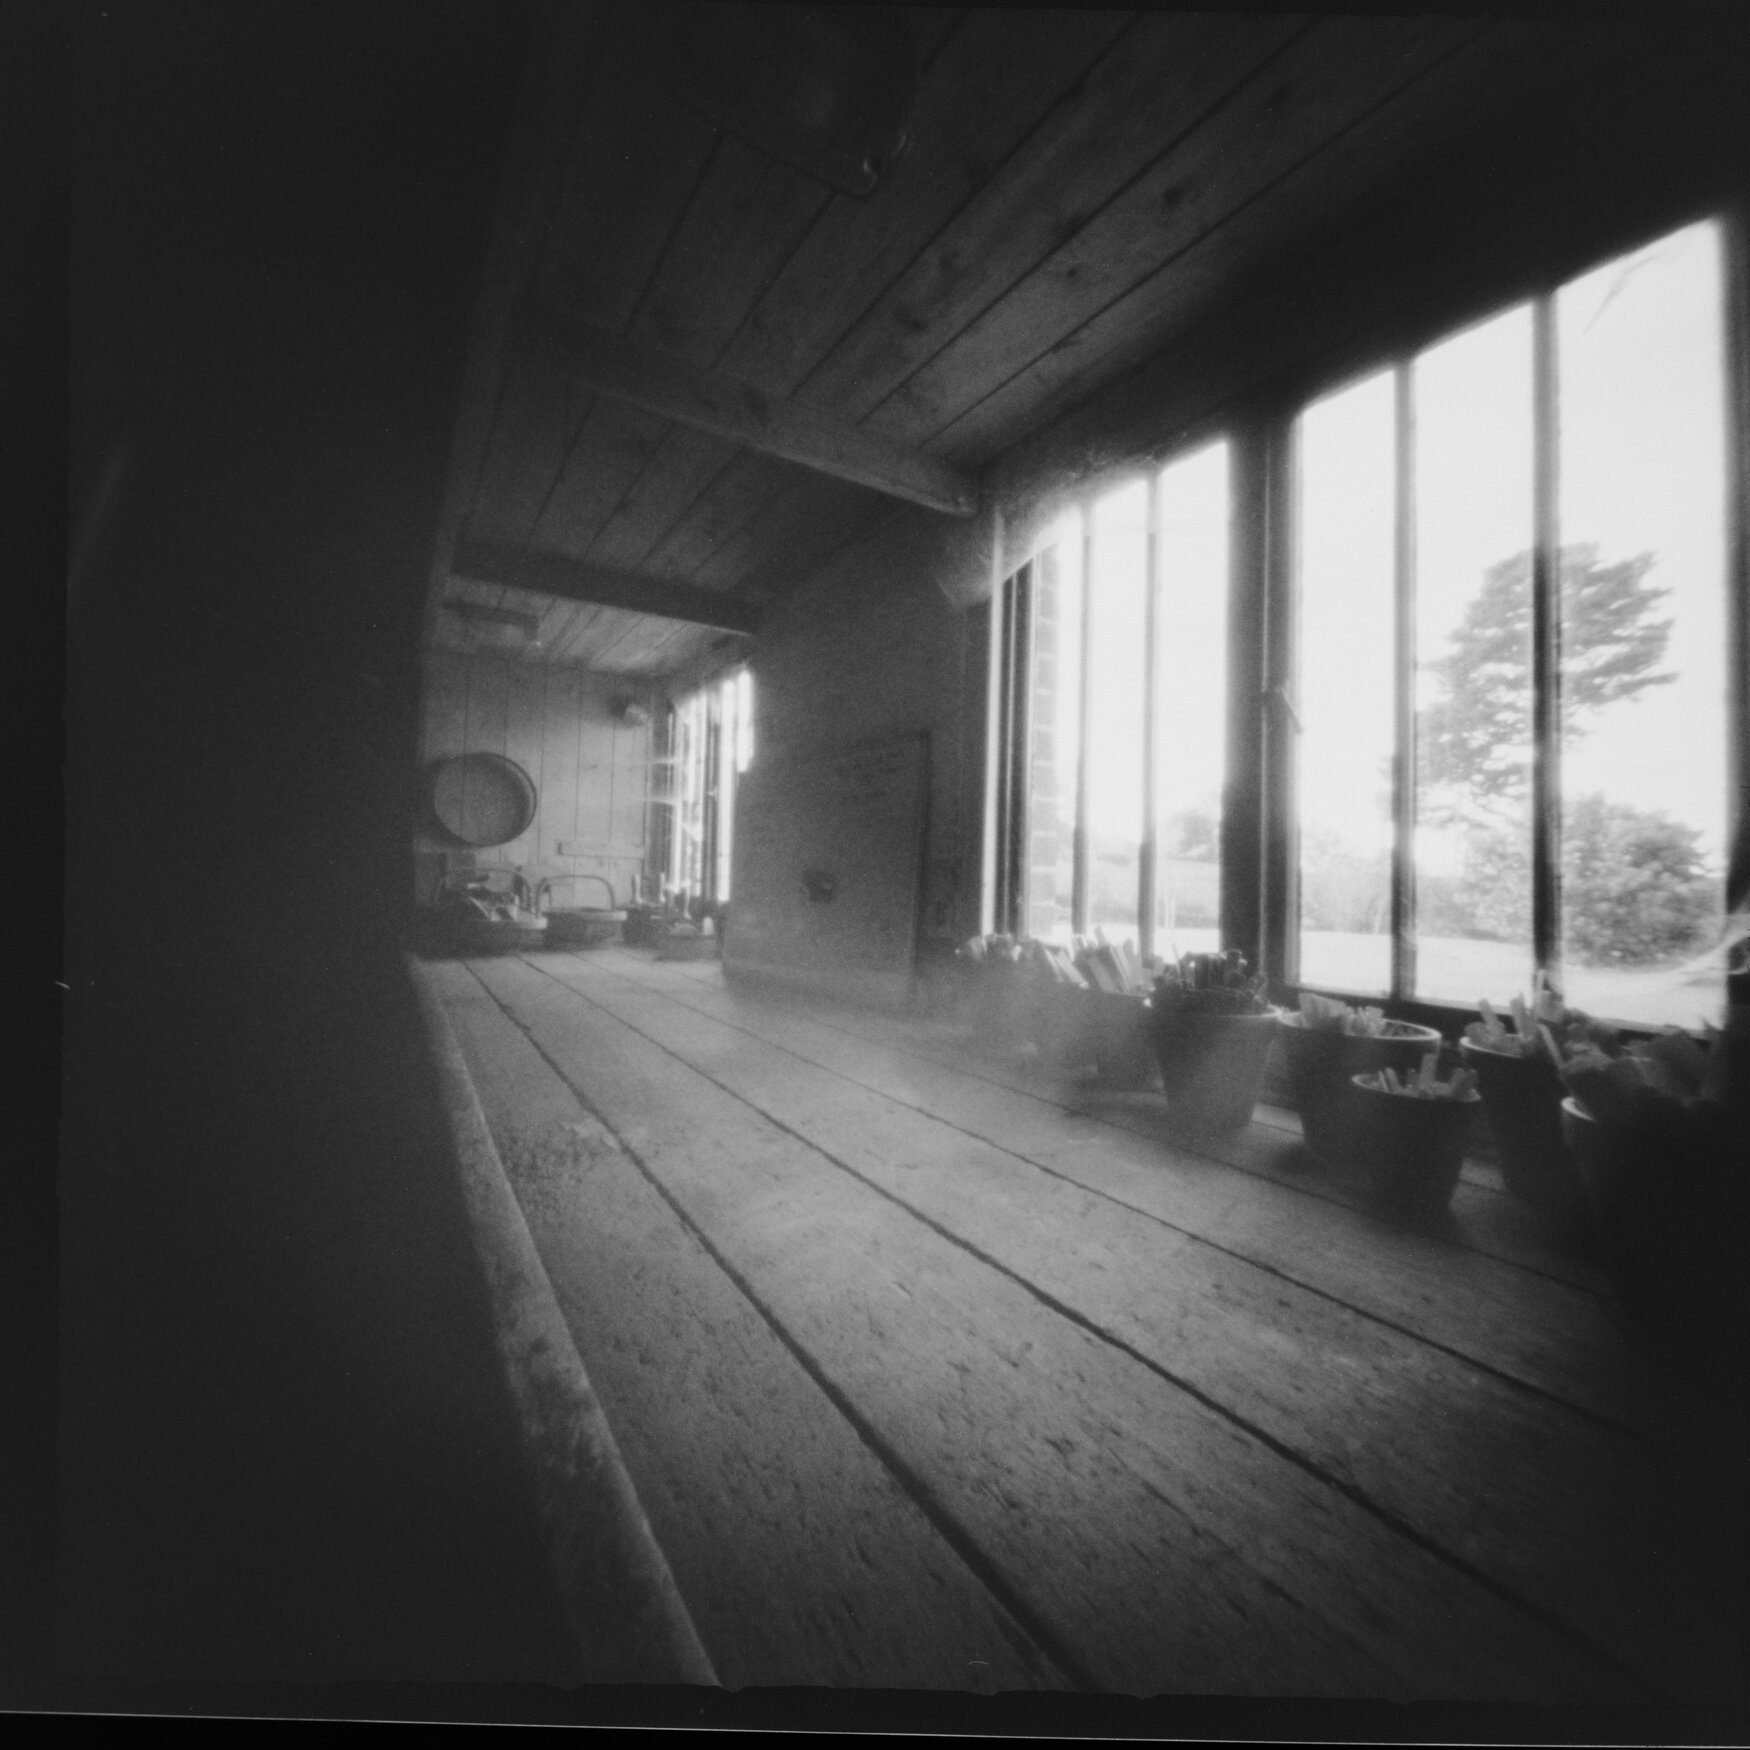
The purchase of a medium format Ondu pinhole camera in 2019 reignited my interest in this back to basics form of photography and I’ve shot no fewer than 26 rolls of film in this medium in 2020. I was thrilled to receive a message from Elvis Halilović at Ondu Cameras in the spring to say that, as one of their favourite pinhole people, I should look out for a gift from them in the post. I thought perhaps it might be a roll or two of film so when I opened the box to find a 6x9 format pinhole camera I was overjoyed! The delivery was timed to coincide with Worldwide Pinhole Photography Day, so I immediately put it to work.

A derelict Nissen hut, one of my discoveries during a walk on Worldwide Pinhole Photography Day in April

A derelict Nissen hut, one of my discoveries during a walk on Worldwide Pinhole Photography Day in April

Using the 6x9 has given me new impetus and I quickly realised there’s nothing more therapeutic during a global pandemic than pottering around with a pinhole camera, doing some very slow photography! The simple process of selecting a composition (no easy thing without a viewfinder), figuring out your exposure time and then just waiting while the shutter is open is all consuming and the troubles of the world just disappear for an hour or two.

Photography with a focus

Back in 2019 I made a decision to focus my photography in a more specialised way, concentrating on the genres which really interested me – architecture and street photography.

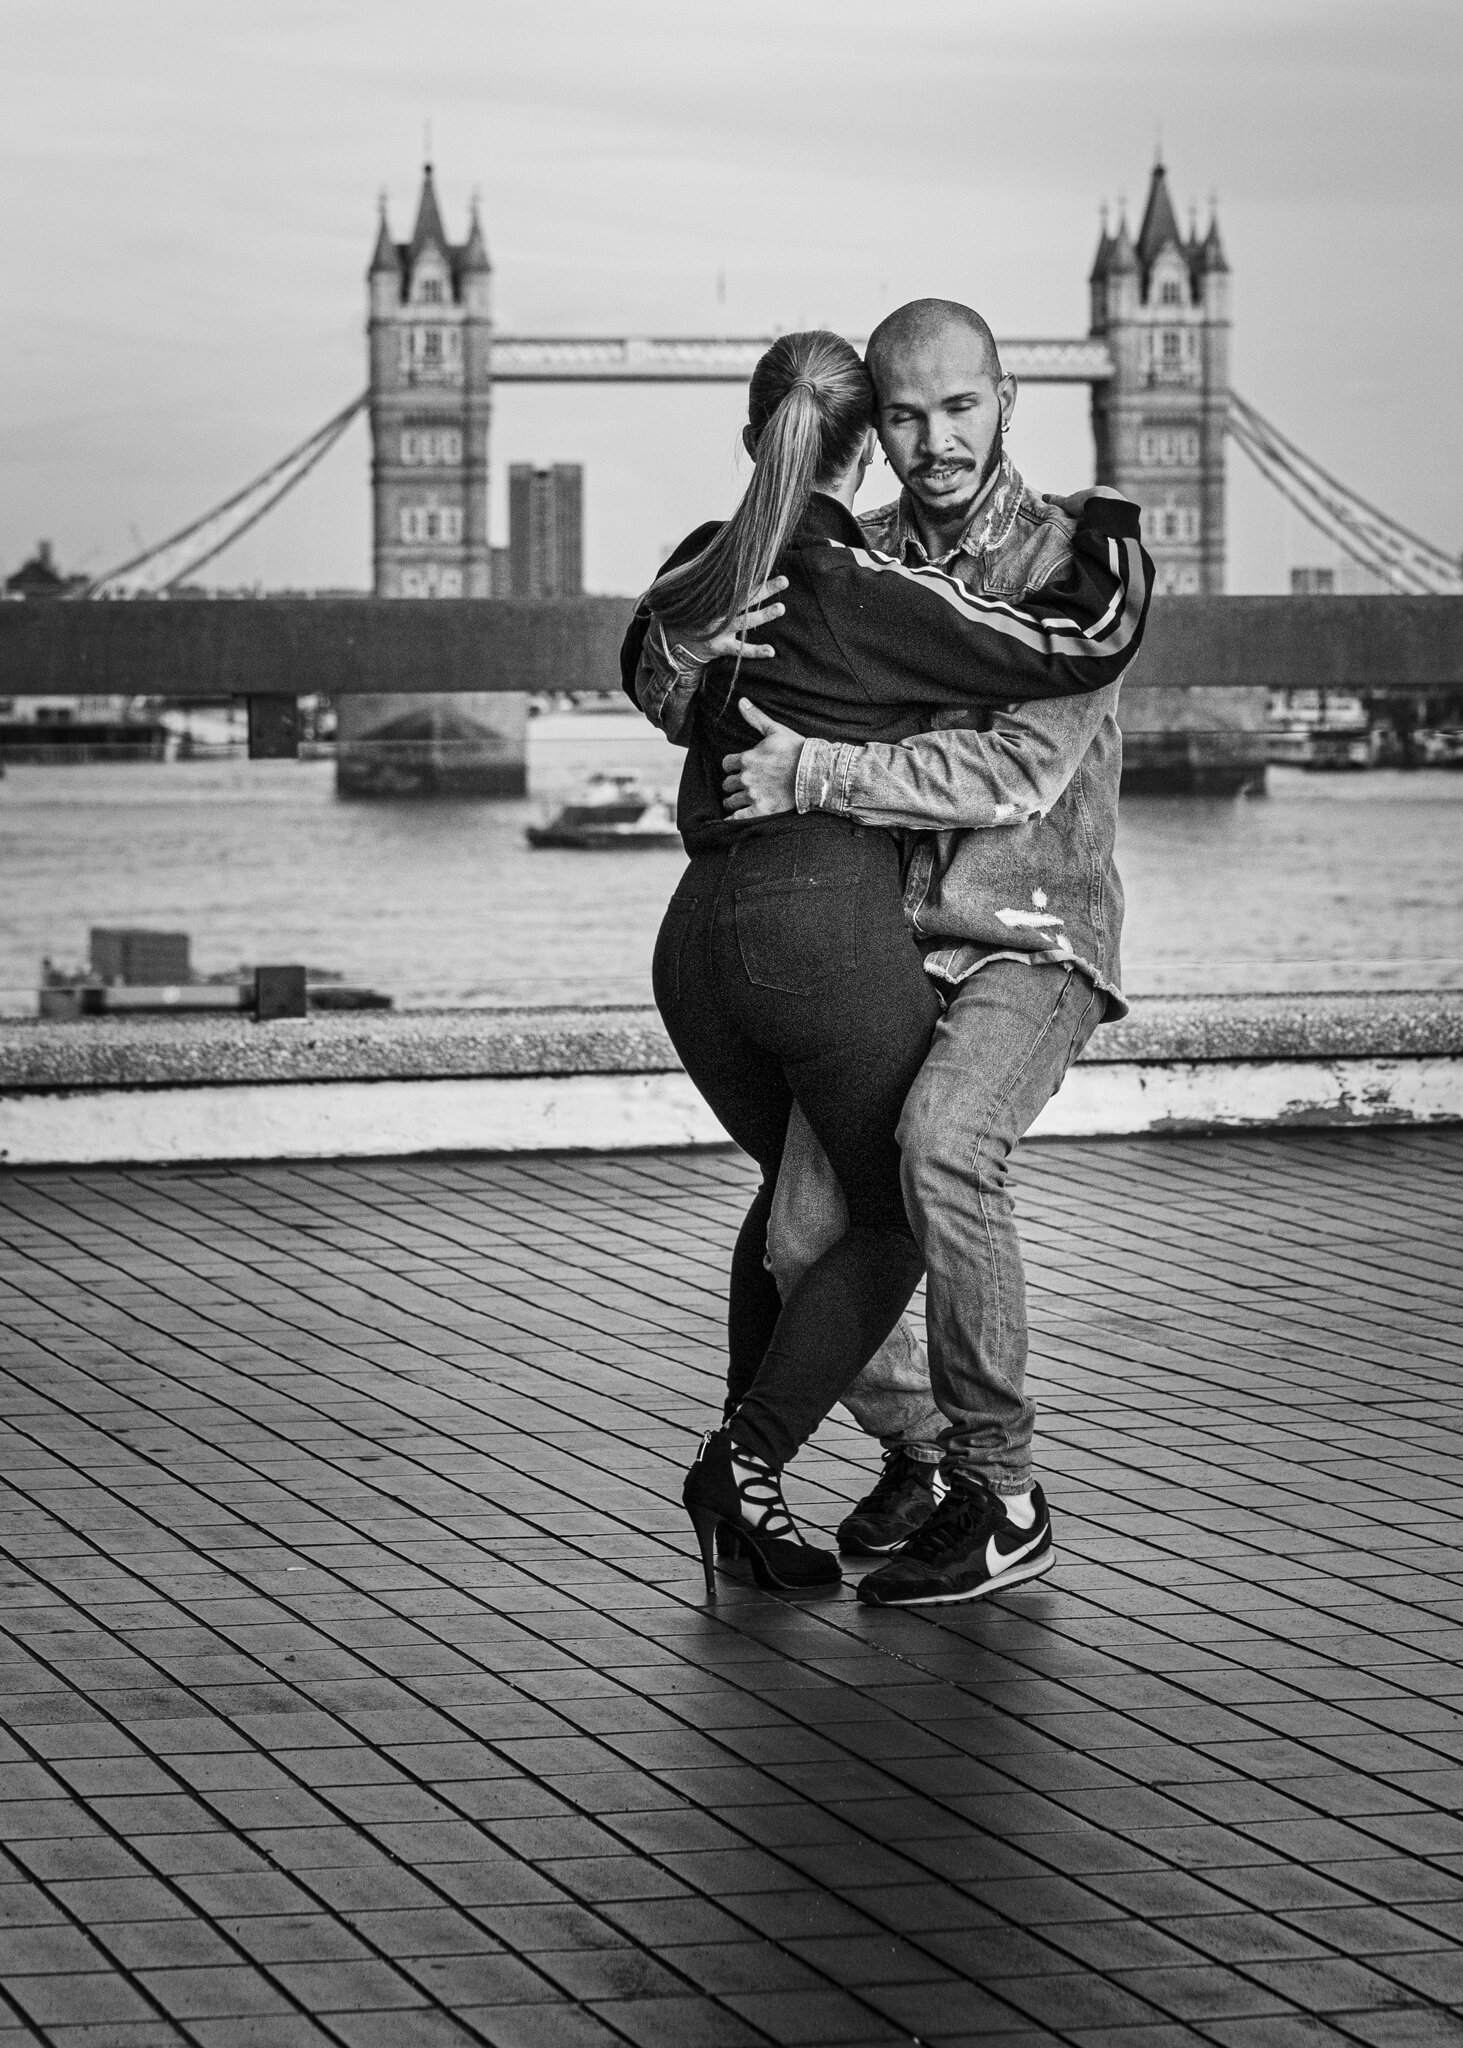
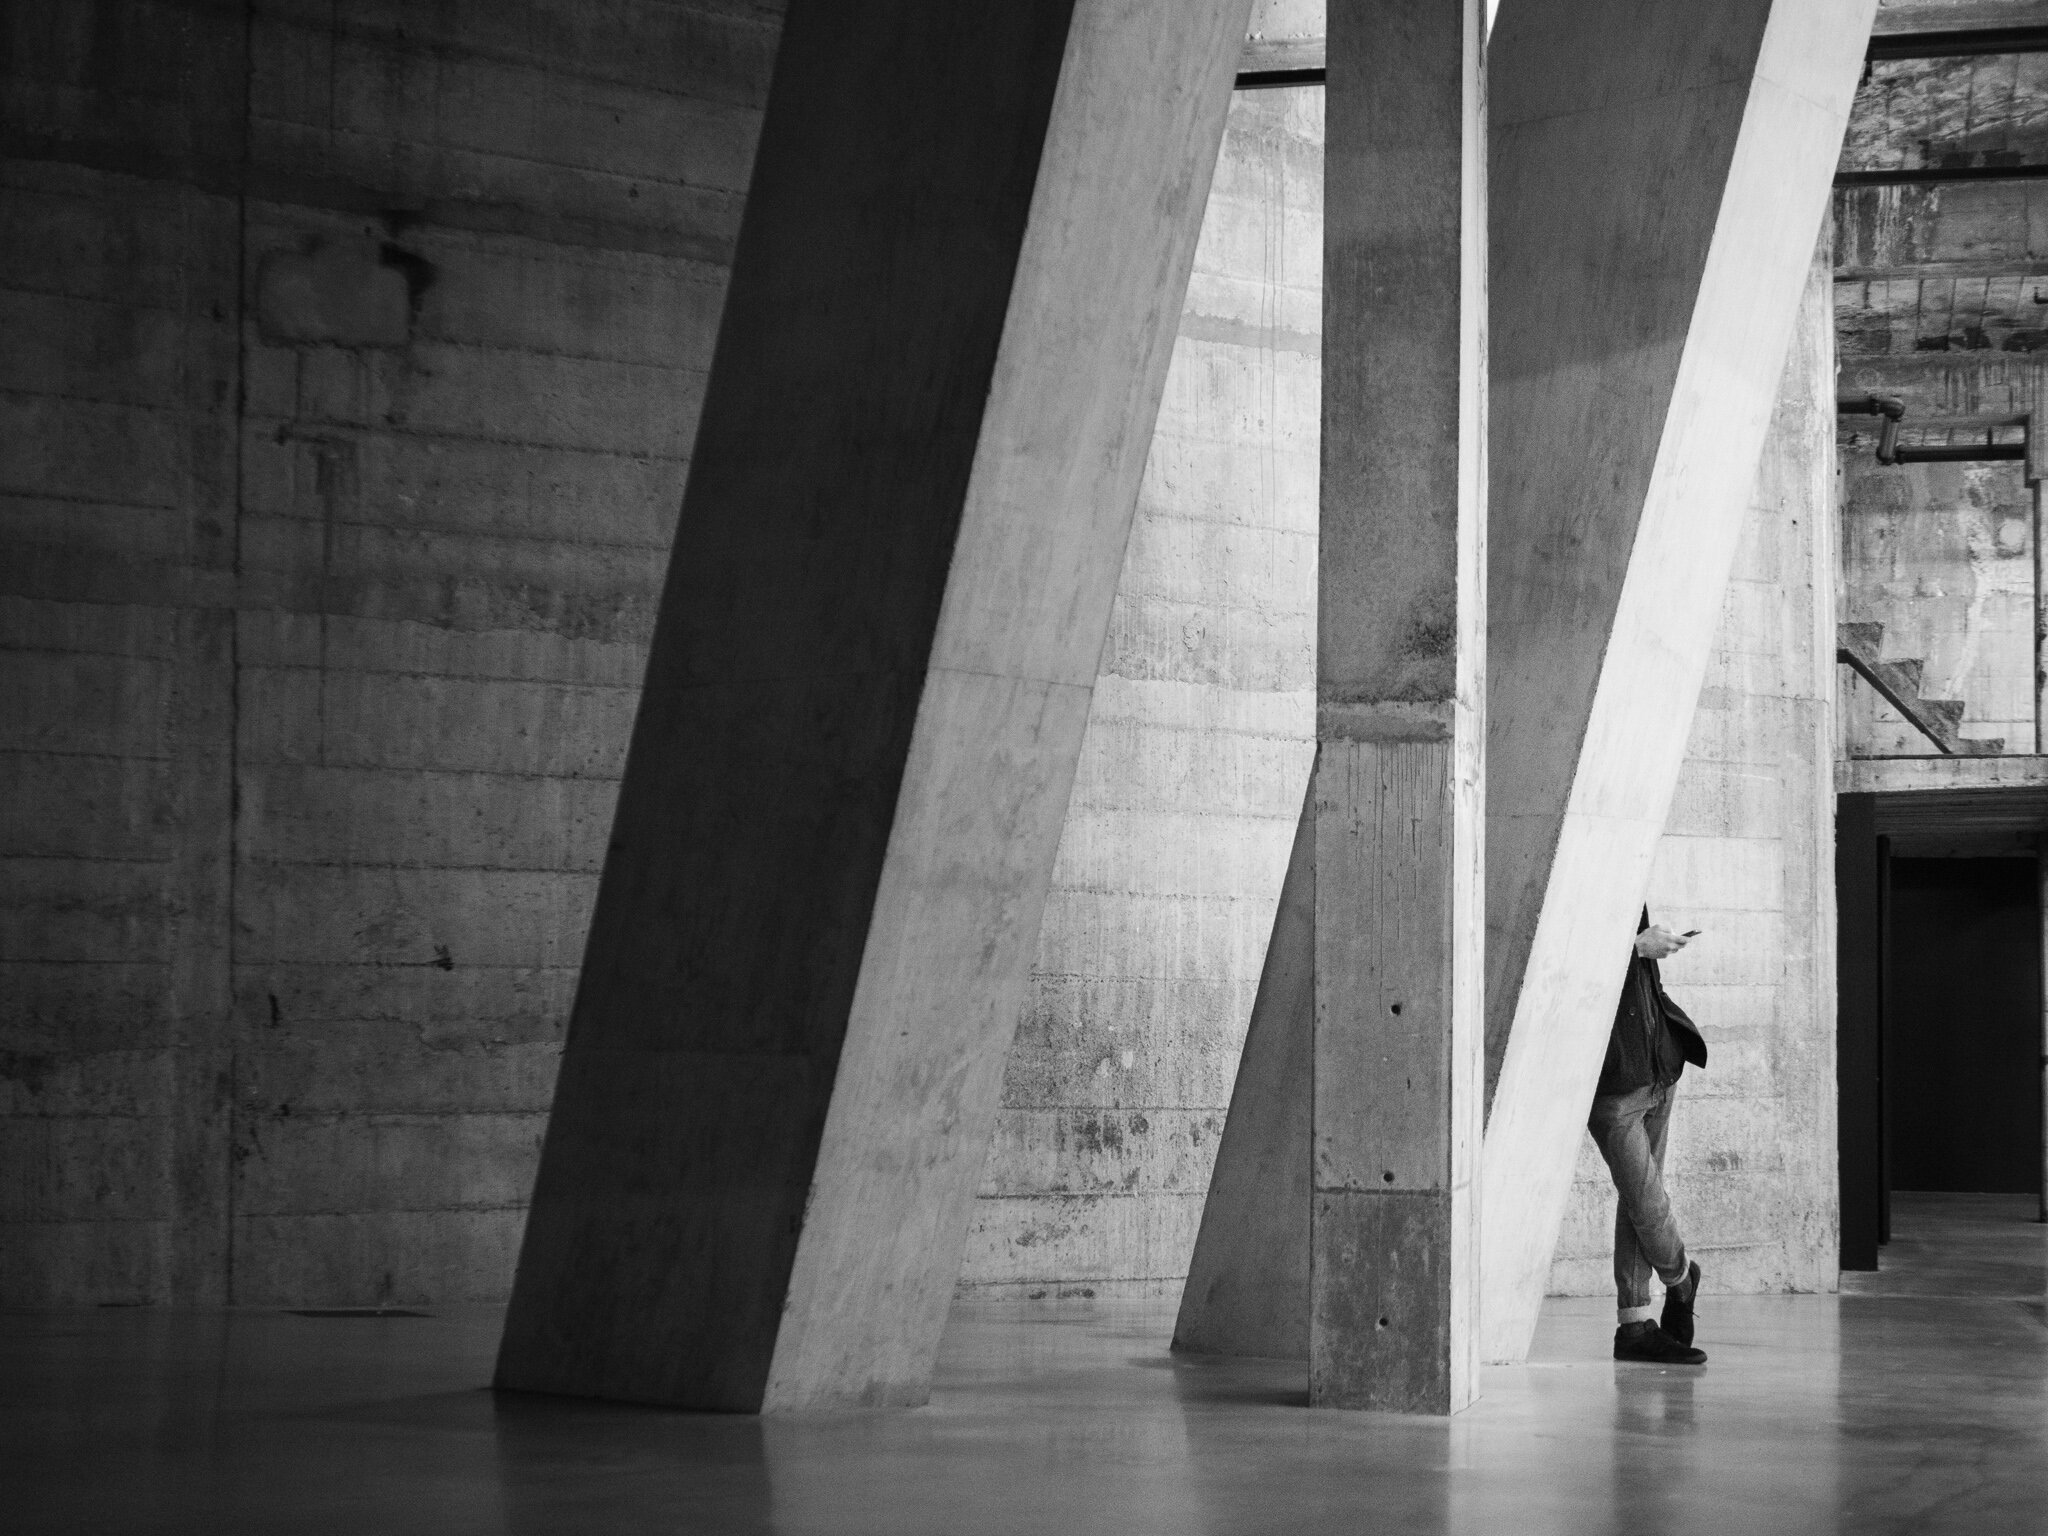
This has had mixed results in 2020. Street photography is a big challenge – largely because of the guidance to stay at home and avoid other people. As the restrictions eased I ventured out in Cambridge and London but still struggled as there are simply far fewer people on the streets these days. I’m sure this will change as the various vaccines are rolled out and we return to something approaching normality. This will take many months though, so I think my adventures in street photography will be a slow burn even in 2021.

One of my street photos from a pre-pandemic trip to Cambridge in January 2020

One of my street photos from a pre-pandemic trip to Cambridge in January 2020

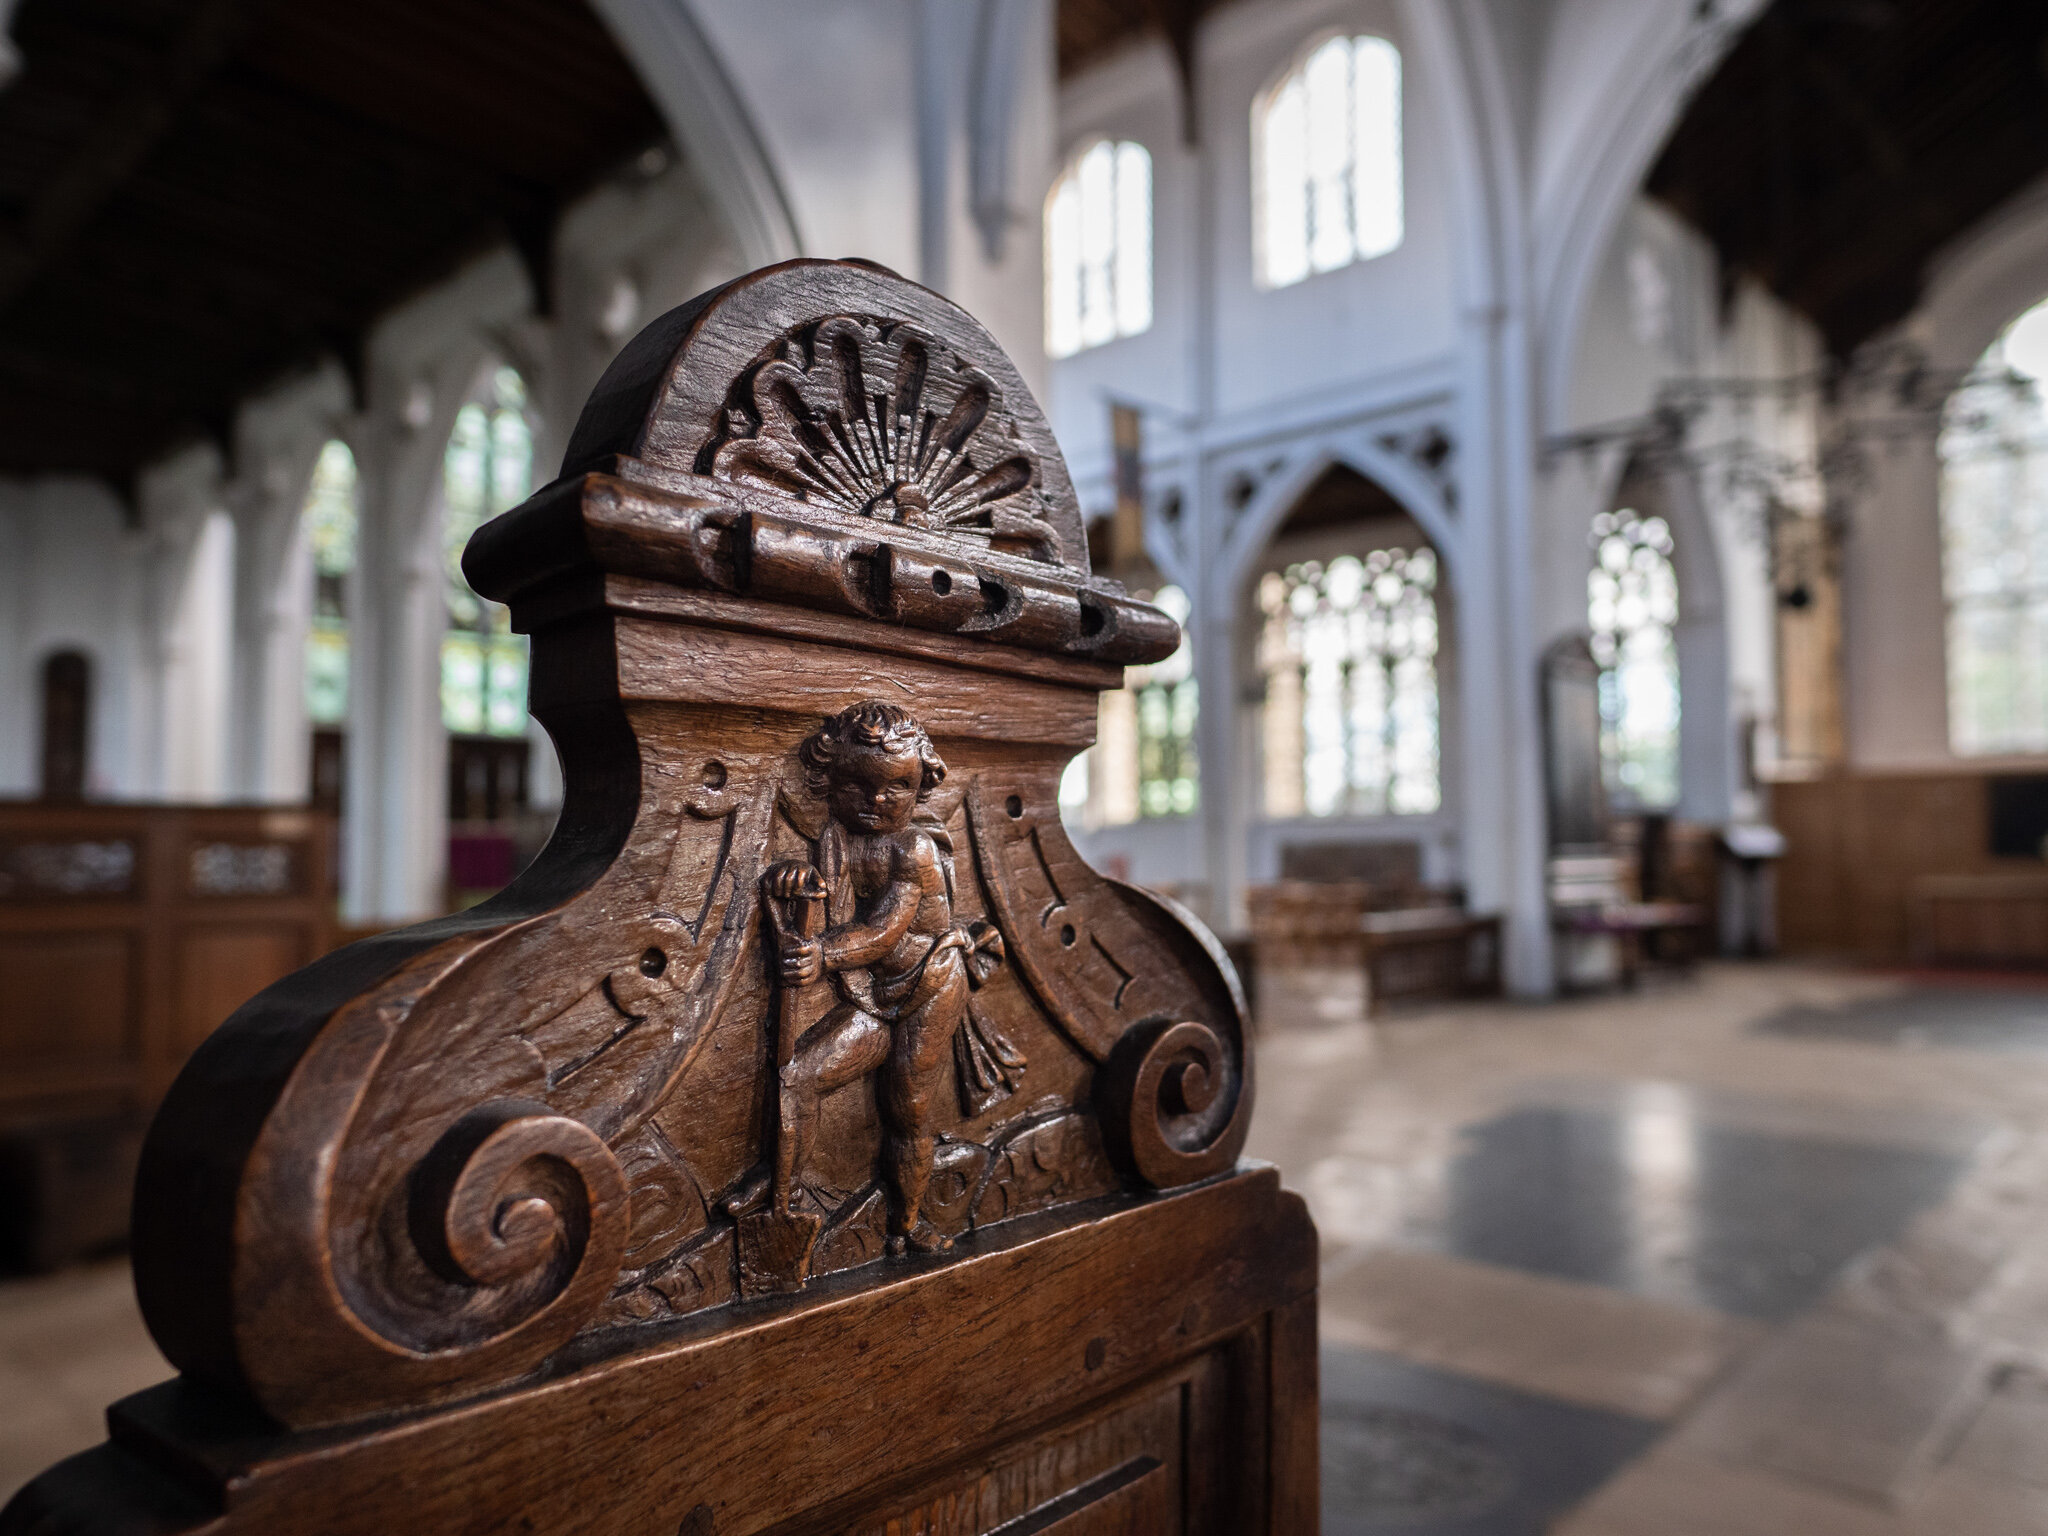
Architecture has been more of a success this year, although not without its frustrations. In the spring, when it became clear I wouldn’t be able to visit London for a while, I began a new Essex Churches project. My logic was that every village has a church, most of which are frankly deserted, so I could visit these without having to travel long distances and without the risk of human contact. The logic was sound, but I hadn’t banked on the diocese which covers Essex being super cautious about Covid-19. As a result, while churches in areas around us opened for private prayer and visits, almost all Essex churches remained firmly locked!

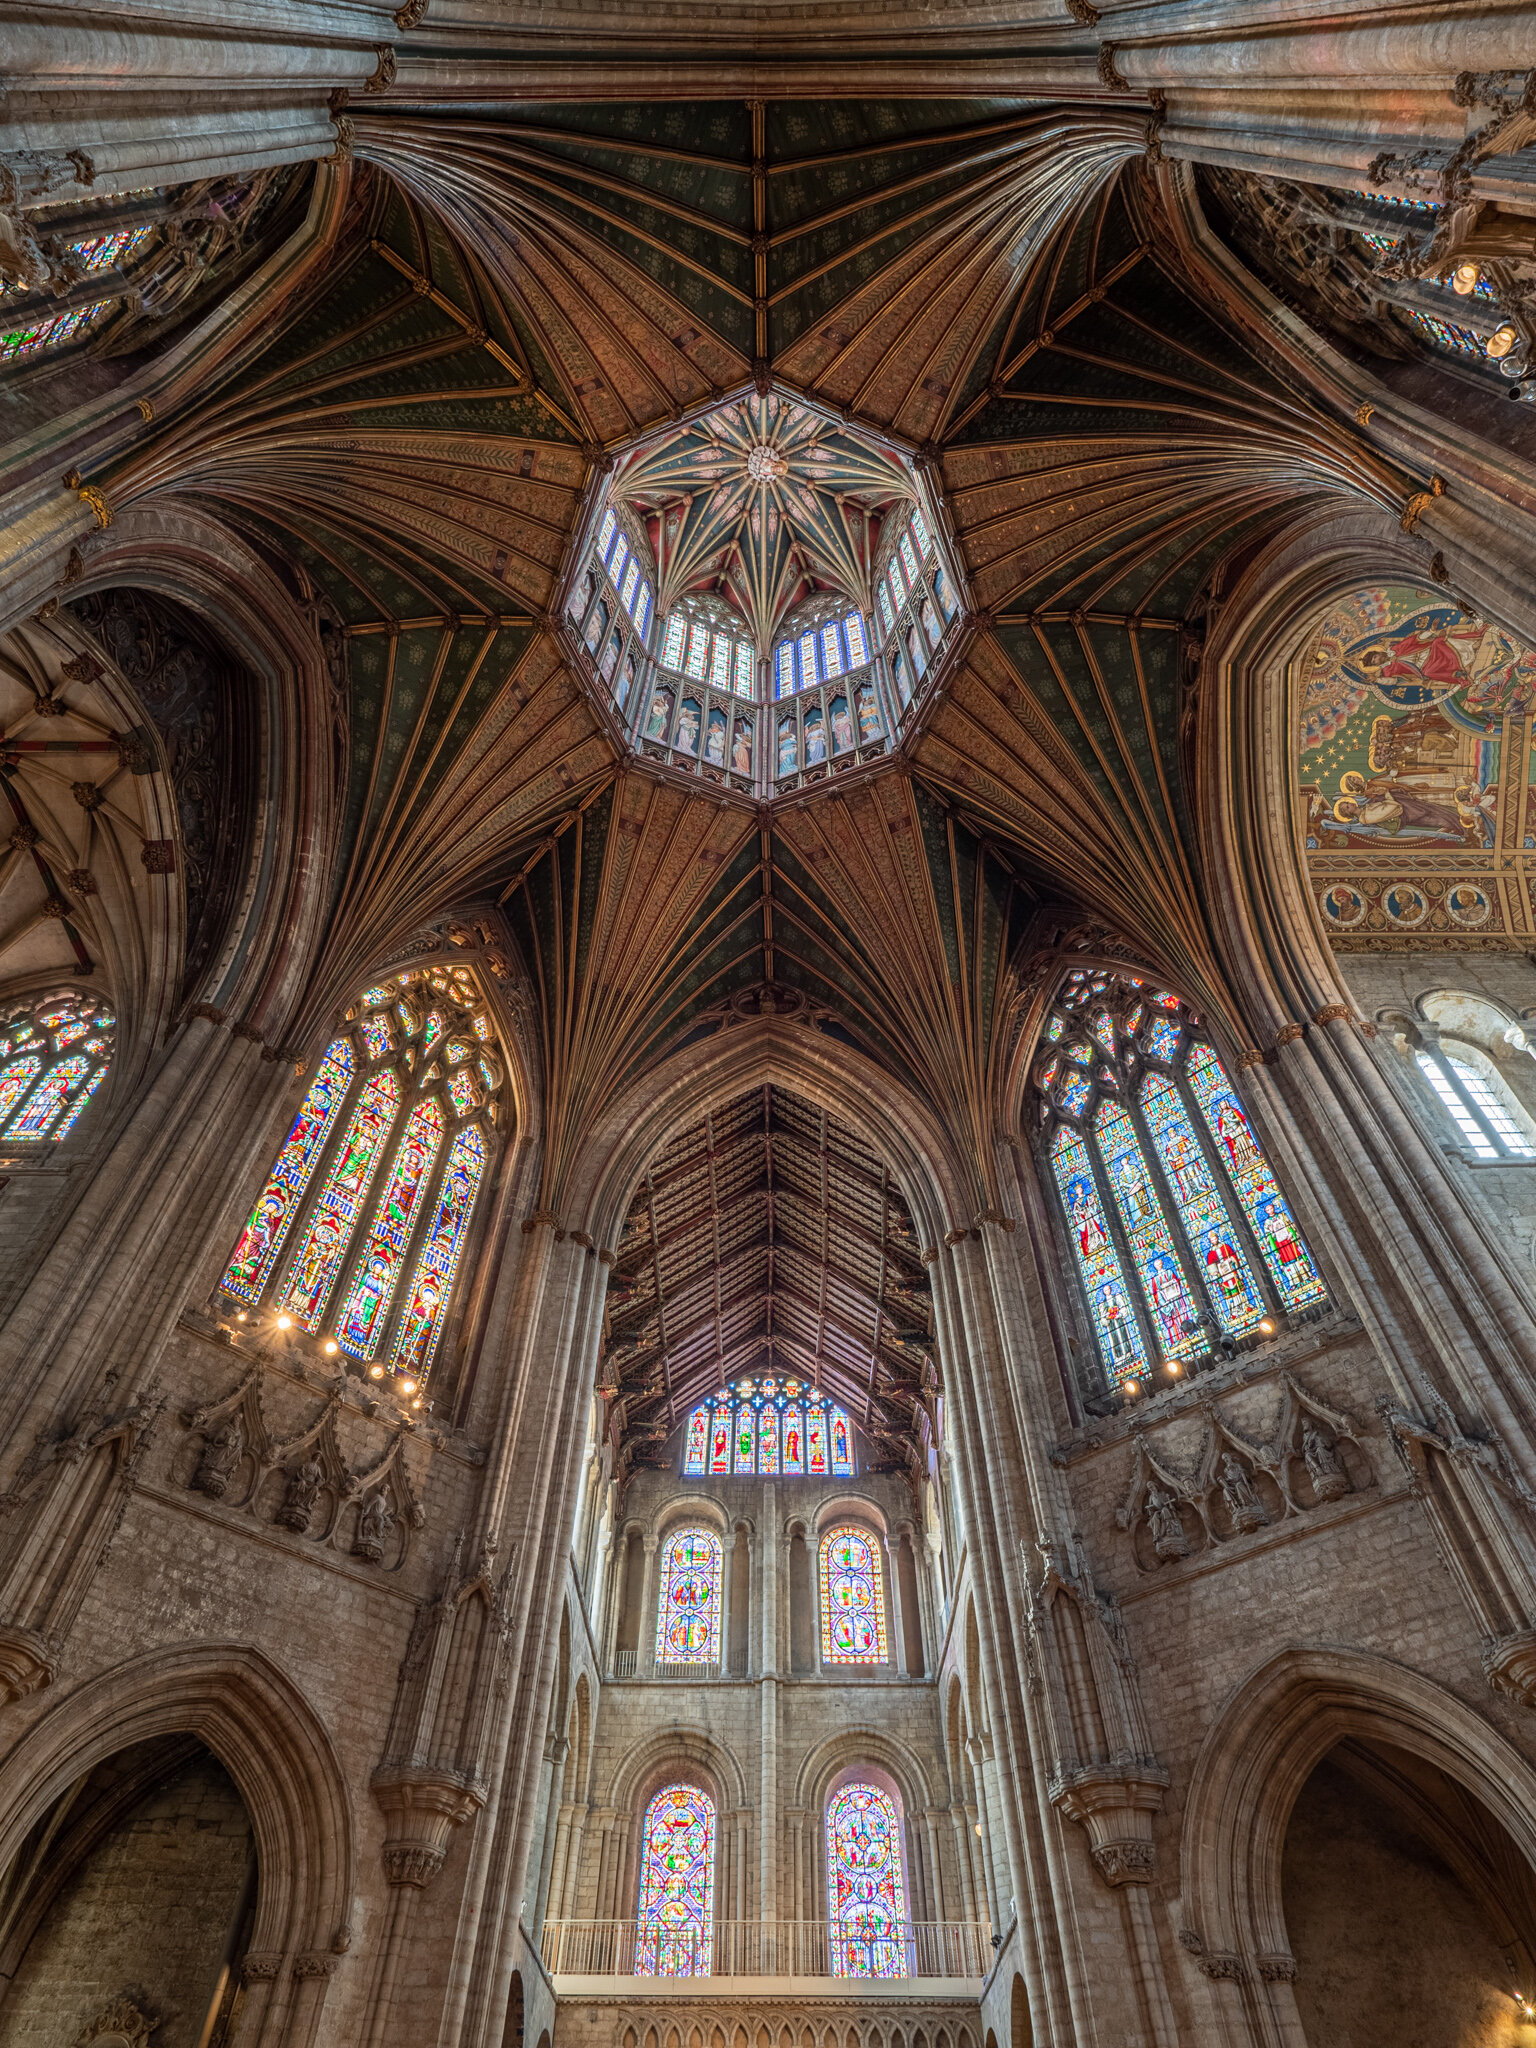
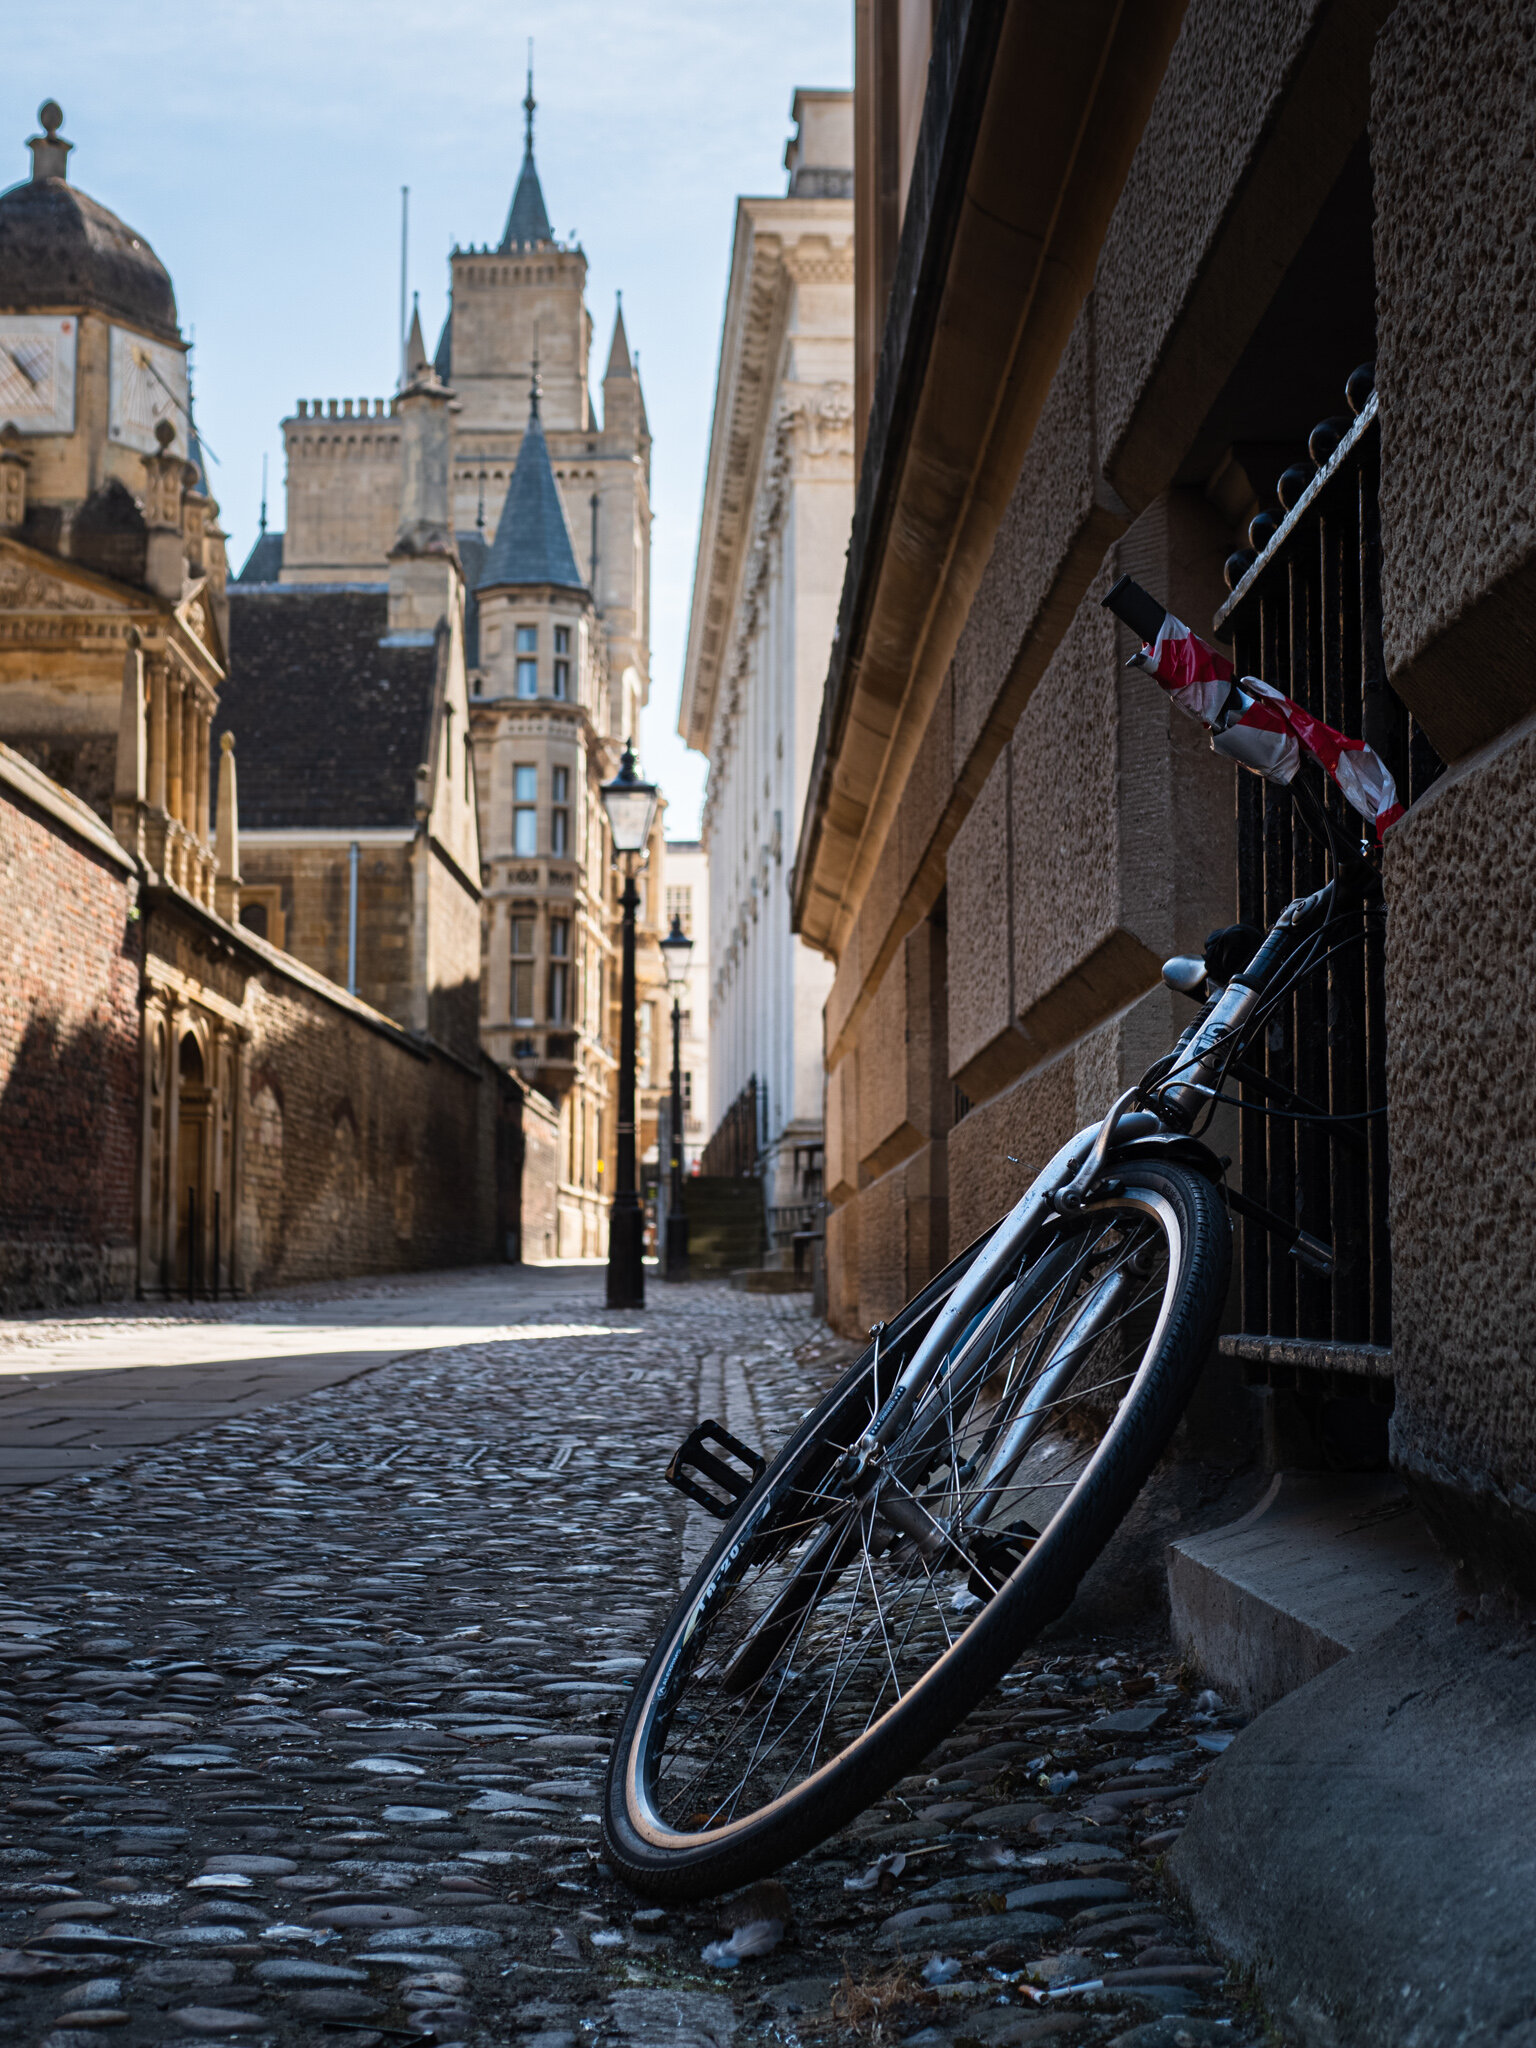
Photographically speaking this was incredibly frustrating. I’ve found a few gems in surrounding areas though and even managed to visit Lincoln and Ely Cathedrals, both of which were photographic goldmines. Away from churches, I’ve looked for architectural interest around me. As the first lockdown eased in May I ventured into Cambridge for the morning, interested to see what had changed. What I found was astonishing – a deserted city. There was the odd walker or cyclist, but no throngs of people outside the usual tourist hotspots. It was utterly surreal, but brought with it the opportunity to get a clearer view of the architecture – something I’ll probably never experience again.

Ely Cathedral

Ely Cathedral

Looking into 2021

So what should we expect of 2021? Frankly, all bets are off! My hope is that the rollout of the vaccines will allow us all some more freedom. If that happens my music work may resume and I may get to travel again. I’m not holding my breath though as it will inevitably take several months for anything close to normality to resume.

With that in mind I’ve dreamt up a project to at least keep me taking photos in January. I did briefly consider another 365 project, but my heart’s really not in it when I’m stuck at home so much. However, I had a brainwave this week for a pinhole photo a day project. My plan is to shoot one pinhole photo (perhaps more!) each day for January and see where that takes me. If weather and the virus allow me I can head out into the surrounding villages in search of images, but if it’s pelting with rain I’ll just have to get creative indoors.

This morning I’ve checked my stock of film and I’ve started jotting ideas in a notebook so I can refer to that for inspiration if I run short of ideas. This may turn out to be an utterly bonkers plan, but it’s going to be fun trying and without a specific subject matter in mind I can shoot whatever is available to me under whatever Covid restrictions happen to be in force.

My favourites from 2020

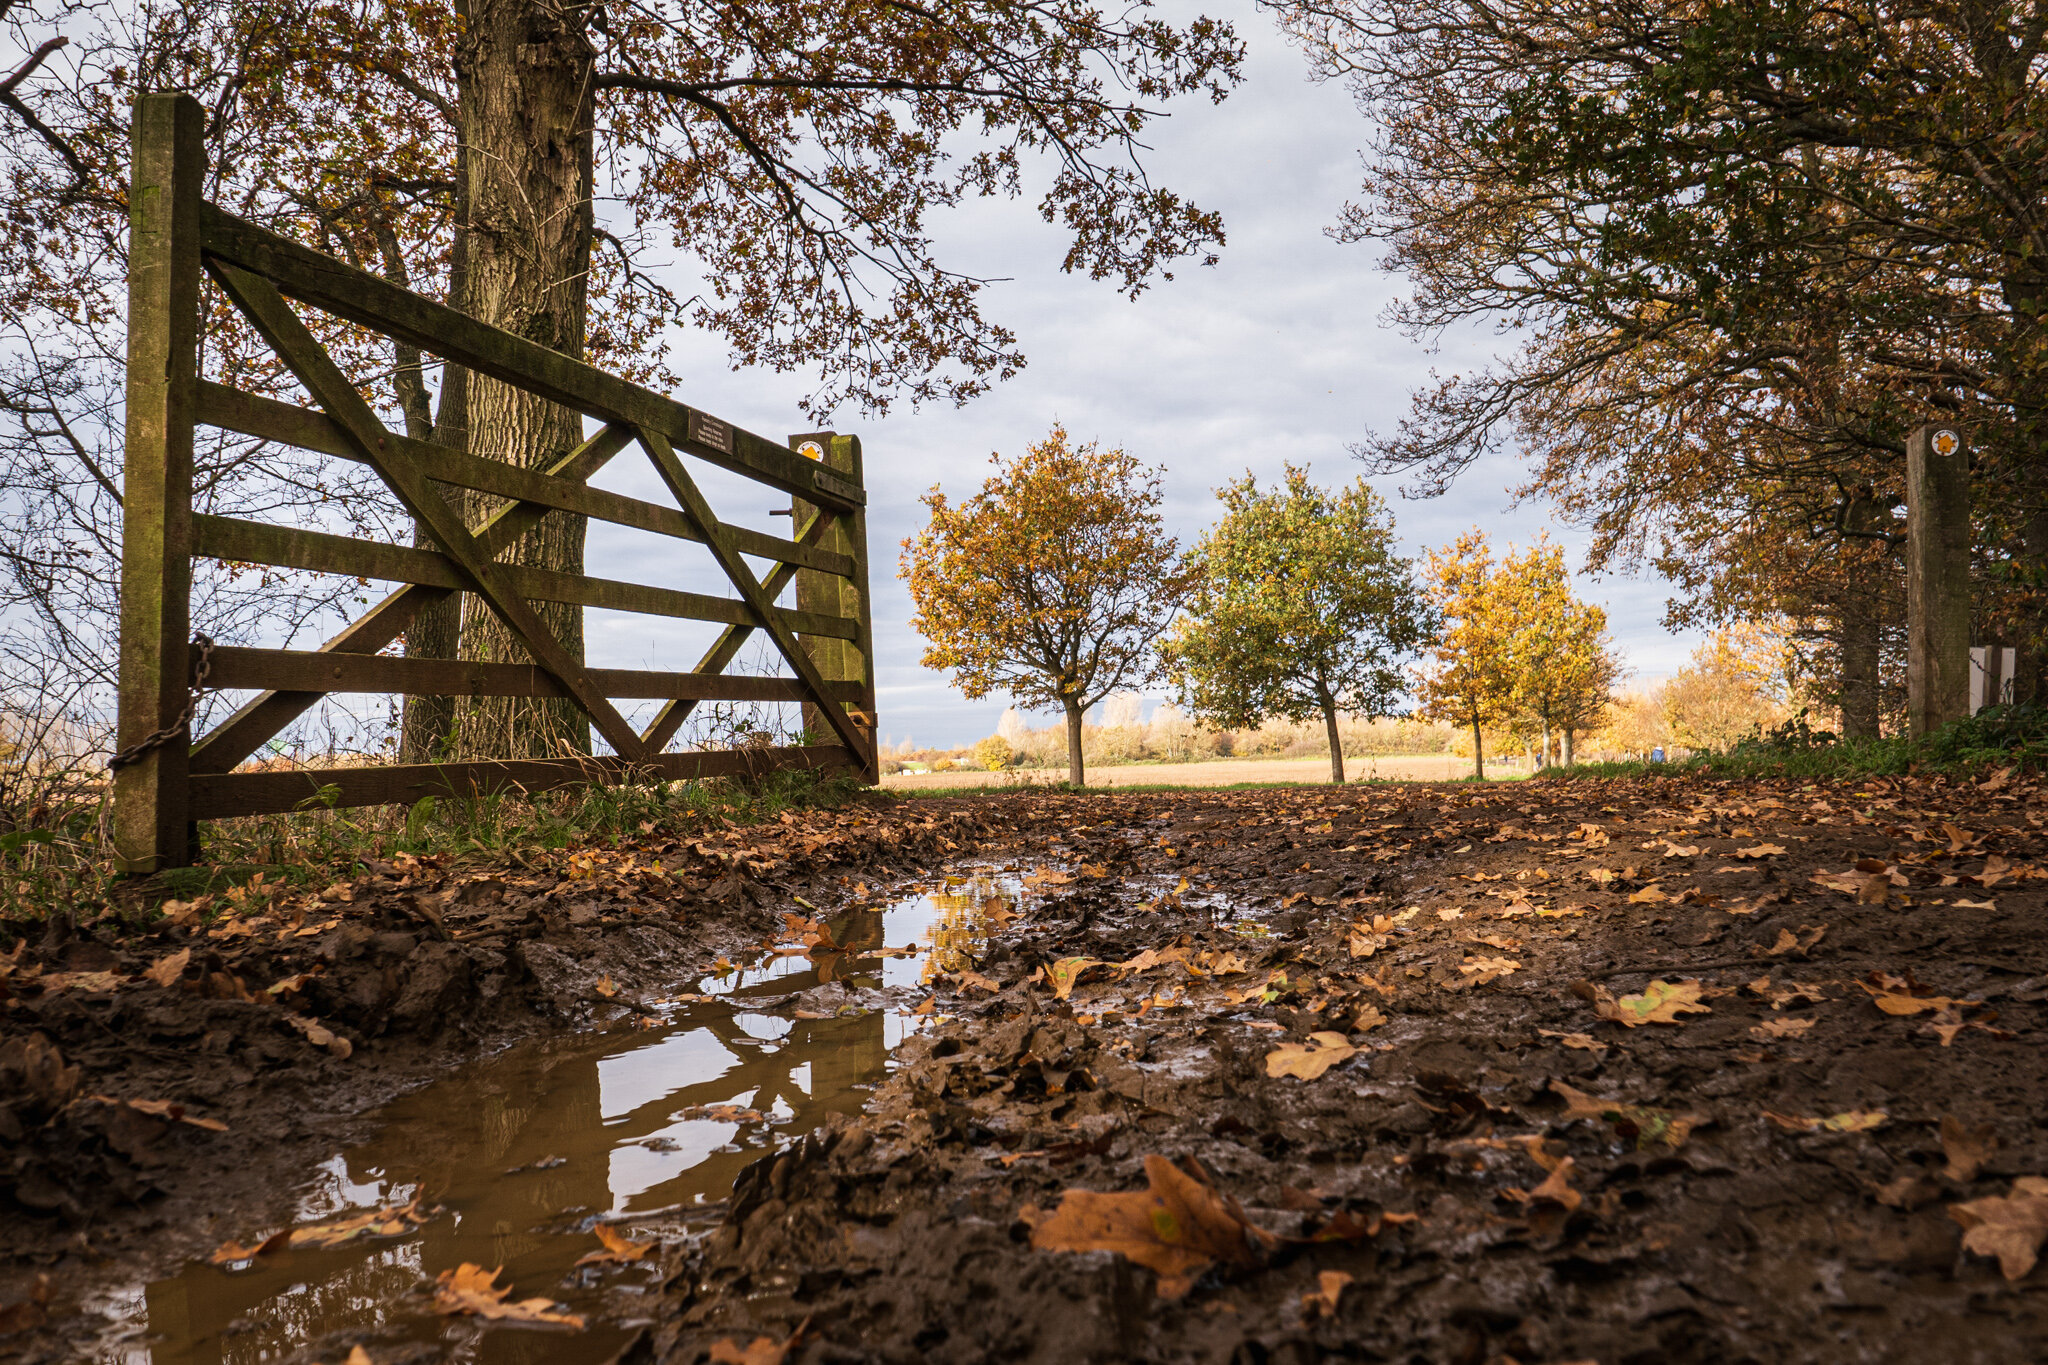
Normally I’d share a gallery of my ten best photos from the year at this point, but given the challenges of 2020 I’m instead sharing a gallery of my favourite photos. Very few will ever make it into my portfolio, but they are some of my favourite moments in a very challenging year.

All that remains is to wish all my readers a happy and healthy 2021 and here’s hoping that by this time next year the last twelve months will be nothing but a distant memory!
 

Ondu 6x6 Mark III Pinhole Camera review

Camera technology is so sophisticated these days that it’s easy to forget about the possibility of taking photos without even so much as a lens. The phenomenon of the camera obscura, where rays of light are focused by a small aperture to create an image on a surface, was recognised at least two millennia ago and was later harnessed in the form of a pinhole camera.

You’d think in these days of super-sharp lenses there would be little point in using a pinhole camera – after all, how could such a basic concept produce images of any worth? Such technology has an appeal for many photographers though. There’s something enticing about the simplicity and the infinite depth of field these cameras produce -  a look no lens can yet replicate.

Ondo 6x6 III Pocket Camera in ash

Build your own or buying off the peg

Many people build their own pinhole camera, from a box or tin and photosensitive paper. My introduction though came with an Ondu 135 Pocket camera last year. Created by Elvis Halilović and his team in their Slovenian workshop, I was enchanted by the craftsmanship of these delightful wooden cameras. When mine arrived I could see the potential from the first roll of film, but my photos never had quite the sharpness I was after. Research soon showed me that the size of the negative is crucial in pinhole photography and I realised I should perhaps have chosen a larger model. In October 2018 Elvis and his team launched the Mark III version of the Ondu on Kickstarter so I took the plunge and backed the campaign, selecting a 6x6 Pocket camera to shoot medium format film.

The simple film winding knobs, with engraved arrows to show the direction to wind

What’s changed in the Mark III camera?

The newest Ondu cameras have the same beautiful craftsmanship as their predecessors, but this time with a sharper silhouette. The corners are a little crisper and each camera is made from a single type of wood, rather than a combination of two. I went for ash, in contrast with the walnut of my original Ondu, with silver film winding knobs. The biggest change though is the shutter mechanism.

Previous generations of Ondus had a wooden shutter which you flipped upwards to reveal the pinhole beneath. This time it’s triggered with a metal shutter, which pops up and down with the flick of a finger, and a satisfyingly definite click. This is a big improvement. With an aperture of f125, exposure times are always going to be lengthy, so keeping everything still is crucial. The new shutter action makes for less camera shake and I’ve found it much easier to achieve still shots.

The mark III’s new shutter mechanism

How does the Ondu work?

Put simply, it’s a wooden box, with a very fine pinhole to focus the rays of light. No need for focusing – with a pinhole camera everything is in focus, whether you like it or not!

Achieving the perfect exposure

Of course, modern cameras have in-built light meters, so exposing photos perfectly is easy. The Ondu take this back to basics, with just a simple wooden exposure chart. To use this all you need is a digital camera or a smartphone metering app set to f22. Once you’ve got your f22 meter reading, the chart converts this into something suitable for the Ondu’s f125 aperture and you’re good to go.

Even the exposure chart is beautifully made from wood

As a relative newcomer to pinhole photography, I didn’t take reciprocity failure into account with my first film. This is a quirk of shooting on film, where long exposures must sometimes be considerably longer than expected to achieve a good exposure. Some films suffer from this more than others, but my solution is to use the fantastic Pinhole Assist app on my iPhone. In the app’s settings I select the model of my pinhole camera plus the film I’m shooting with. I then aim my phone’s camera at my subject and it tells me exactly how long I need to keep the shutter open, taking reciprocity failure for that particular film into account. It makes exposures an absolute breeze and I can’t recommend it enough.

Bonus features

Not content with just updating their original design with a new look, the Ondu team took the Mark III as an opportunity to add some entirely new features. One of these was the creation of the ‘Rise’ models. These have no fewer than three pinholes at different heights, allowing photographers to capture subjects such as architecture without converging vertical lines. Much as I love architectural photography, I wanted to stick with a simpler formula so I didn’t select this option.

The other handy addition is the ability to use filters. Film photographers often use coloured filters to control the way certain tones appear in their pictures – for instance using an orange filter to enhance a blue sky in monochrome images.  The Mark III Ondu makes filter use possible with the addition of a bracket containing a 58mm filter ring. This is attached magnetically, so if you don’t need filters it can stay in your camera bag. I haven’t tried using this yet, but it’s on my to-do list once I’ve bought some coloured filters.

A magnetic bracket to attach 58mm filters

Another small but handy tweak is the addition of two lugs and the inclusion of a shoulder strap with the Mark III. Like the filter mount, I haven’t felt the need to attach mine as it’s almost always mounted to a tripod, but for some people this will be really useful.

The final option I did plump for was a set of 3D printed adapters to enable me to shoot 35mm film in my new camera. While the smaller negatives will probably reduce the overall sharpness, shooting this film in a larger format camera will allow me to include the sprocket holes in my compositions. A small thing, but I will certainly give it a try sometime. The adapters added very little to cost and it seemed silly not to order them, just for the flexibility of format they offer me.

3D printed adapters to use 35mm film

Photography as a tactile experience

Modern cameras are fairly soulless creations, if I’m completely honest – boxes of plastic, metal and electronics. They function perfectly well but are hardly designed to move the emotions. In contrast, the Ondu is an absolute pleasure to handle. There’s something so tactile about wood that I find myself caressing my Ondu just to enjoy the grain of the ash and its beautifully crafted lines. Whenever I’ve been out shooting with either of my Ondu cameras they’ve received admiring looks and people will often come over to ask about them. That’s certainly not something you’d expect to experience with a digital camera!

A peak inside the camera, including a spool to which takes up the 120 fllm as you shoot. The camera back is attached with tiny but very strong magnets

Does the Ondu Mk III live up to expectations?

Absolutely! I’m still learning to get the best from pinhole photography, but even from the first roll of film I could see the benefits of shooting a larger format. Pinhole photos will never have the same degree of crispness as an image from a camera with a lens. But when viewed at a moderate distance the 120 negatives offer a very satisfying sharpness. I’ve shared some of my photos on social media recently, and on more than one occasion viewers haven’t even realised they were taken on a pinhole camera. That’s quite an achievement!

The complete Ondu Mark III kit - including a shoulder strap, fabric bag and a handy elasticated band to keep your shutter closed when not shooting.

Are they any negatives?

Please excuse the pun, but no negatives that the folks at Ondu are responsible for! The 6x6 camera has a ruby window in its back to help you track how many shots you have left when winding the film on. As a newbie to 120 film I had no idea how variable these frame numbers can be. Some (Fomapan for instance) are super clear and easy to see through the window when you open it. Others (Kodak film seems a particular offender) have numbers which are faint and small – almost invisible when looking through the ruby window in overcast light. My solution is to carry a small torch to illuminate things and help me wind on accurately. I wasn’t sure if this would affect my pictures, but four rolls in I’ve noticed no adverse effects and it makes life immensely easier!

The rear panel removed, showing the ruby window to keep track of frame numbers

The other challenge is how to frame pictures accurately. A pinhole camera has no viewfinder – just a built-in bubble level and some framing lines engraved on the camera to show roughly where the extremities of the image will be. With a focal length of around 25mm, I’m quickly learning that one has to get really close to a subject to make a photo with impact. If you step back, everything just looks very small! That’s just a matter of time and experience though, so I’m looking forward to seeing my latest negatives when they come back from being developed.

Who should try pinhole photography?

Everyone! Once you accept that you’re not going to achieve absolute critical sharpness in your pictures, there’s a lot to learn from pinhole photography. Not being able to see the composition either before shooting or immediately afterwards really makes you consider the important elements in your pictures. Before opening the shutter I carefully use the framing lines to work out my composition. With infinite depth of field, it’s also important to exclude unwanted elements from the frame – after all you can’t use a large aperture to blur the background! This can only help my compositional skills when I return to my digital camera.

The final verdict…

I’ve been delighted with my Ondu 6x6 Pocket Mk III. Not only is it a thing of beauty and a pleasure to handle, I love the photos it makes. They have an unmistakable pinhole look – total sharpness through the frame, while being slightly soft at the same time. In a review of a traditional camera that would be a big no-no, but here it’s a welcome feature!

The Ondu Kickstarter campaign may have long since finished, but you can still order cameras, from 35mm all the way up to 4x5 format from their website. As I mentioned earlier, they offer simple cameras like mine, as well as the more sophisticated Rise model. There are also panoramic models available for those who like to take a wider view of the world!

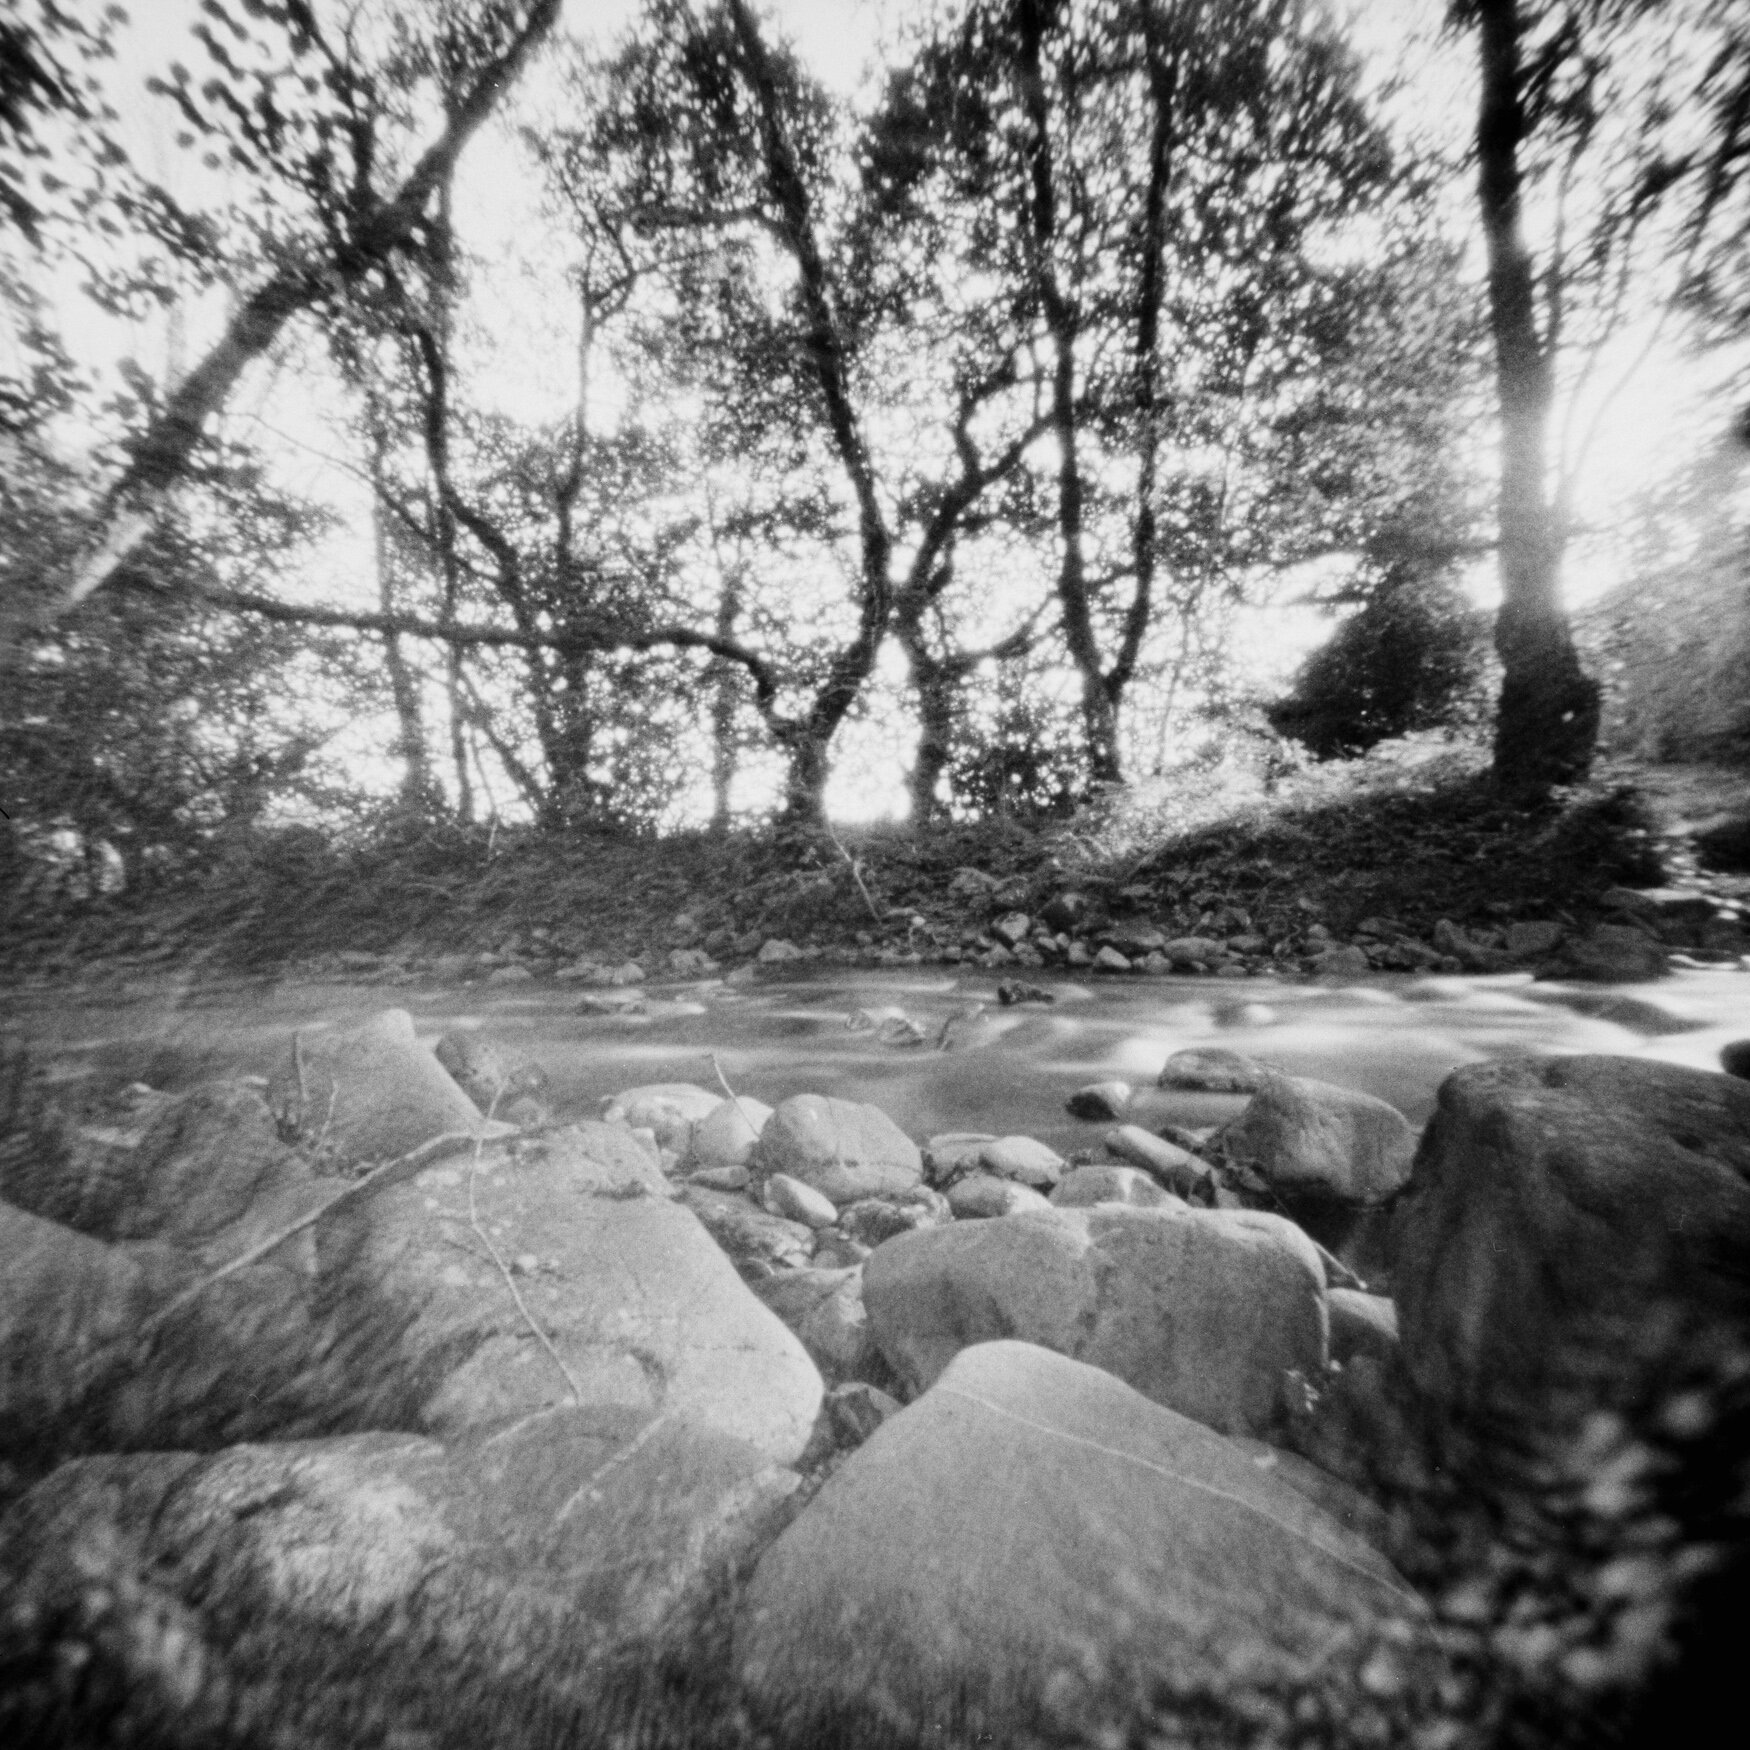
A selection of my photos from the camera so far - shot on a mix of Fomapan 100 and Kodak Portra 160 film. Click on any of the pictures to see them larger and scroll through the gallery.

If you fancy trying your hand at pinhole photography I can’t recommend Ondu cameras highly enough. If you don’t have the skills to build your own pinhole camera or, like me, just love the concept of a design beautifully crafted from wood, do consider an Ondu. Don’t hang around though – several models have already sold out and I’m sure the remaining ones will sell quickly!

Panasonic LUMIX G9 Review

It’s not often I’m moved to review new equipment but, being an early adopter of the Panasonic G9 it seemed an interesting exercise and may be helpful to those now trying to decide whether to take the plunge and order one.

This won’t be a technical review, with charts and statistics but, instead, comments on my real world experiences of this camera. I’m very much a stills photographer so if you’re looking for comments on the video capabilities of the G9 please do look elsewhere. I may well try the video functions in time but for now I’ve focused entirely on its ability as a stills camera.

All the images are ones I've taken with the G9 over the last six weeks - please click on them to view them larger.

Before I start though, let me tell you a little of my background and my journey with mirrorless cameras...

Three years ago, I made my first foray into the world of mirrorless cameras. I loved my DSLR, a Canon 5DIII, but there were times when I wanted to travel lighter without compromising on quality. After shopping around, I plumped for the Panasonic GX7 with a 20mm prime lens. I gradually built up a small collection of prime lenses and loved the freedom the smaller form factor gave me. I subsequently upgraded to the GX8 and was grateful for the substantial improvements it brought.

Over time I found I used my mirrorless camera more and more, while my two Canon bodies sat unloved at home. Finally, I ditched the full frame camera in March 2017 but kept a Canon 7DII and a few long lenses for wildlife and action shooting. However, I could already see a moment coming when I would ditch DSLRs altogether and switch to an entirely mirrorless system - I just needed the autofocus and tracking abilities to catch up.

The new kid on the block

Fast forward to the 9th November 2017 when the G9 was announced and my hopes were raised.

I’d been hoping for an update to the GX8 which would fulfil my requirements as I love its rangefinder styling. But here was a DSLR shaped camera which apparently contained all the power I required. Some hard thinking was needed!

A chance to handle the G9 came later that month and Carol Hartfree, from Panasonic UK, did a great sales pitch, but not one I succumbed to at the time. I cogitated on the pluses and minuses for another month, all the time keeping an eye on photos being released by the Lumix Ambassadors. Ian Cook’s impressive sports photos were very persuasive, showing that if the camera could track a rugby player against a distracting background it would probably fare ok with my motorsport, aviation and wildlife shooting.

Finally, on Christmas Day, instead of watching the Queen’s speech, I went online and pre-ordered my G9!

Fast forward to early January and my new camera arrived from WEX - an exciting moment. I bought just the body as buying yet another lens seemed just too much of an extravagance.

First impressions and handling

My first impression was just how DSLR-like the G9 felt in my hands. Of course, it’s considerably lighter and less bulky than either of the Canons I owned. I think it strikes a really good balance between being compact, yet large enough for the spacing of the controls to work ergonomically. In terms of build quality, it’s sturdy and weather sealed. That said, I’ve used my GX8 in some pretty heavy downpours and it’s never missed a beat. I’m no fair-weather photographer so knowing I can continue to shoot in harsh weather without worry is great.


One feature of the G9 which has drawn a lot of publicity is its small LCD control panel on top of the camera. This feature is entirely normal on all but the most basic DSLRs but, so far, has been missing from mirrorless cameras. I know some people have raved about its addition, but I don’t have strong feelings either way. It’s handy to be able to check your current settings but I could cope quite easily if it weren’t there.


Another new feature on the G9 is its double decker mode dial. The top half is a normal mode dial, where you choose whether to shoot in aperture, shutter or manual mode. Beneath that is a smart red ring to show the camera’s flagship status – nothing practical about this but it does looks pretty! The lower deck features another dial, giving quick access to various settings which, on previous models, have been accessed via a menu. This gives me the ability to instantly pick continuous shooting mode, 6K mode, bracketing, timelapse or delayed shutter release. I love this feature, which means I can respond to changing conditions almost instantly. Each of these options can be personalised to suit the photographer.

Getting to grips with the G9

The new scroll wheel (bottom right) and joystick (top left)

The newly designed grip is excellent and it’s comfortable, even on long days spent shooting with a big telephoto lens. All my fingers fit onto the grip and the shutter button is nicely placed. The other buttons seem sensibly positioned, although I’ve had to rewire my muscle memory with some of them. The playback button, in particular, has taken a bit of getting used to. The inclusion of a scroll wheel is really handy for speedy adjustment of the focus point size. I generally move the focus point around with my right thumb on the touchscreen, but the newly added joystick gives a useful alternative means of doing this.


Custom function buttons

The G9 has almost endless ways to customise the buttons and dials, along with some ‘soft’ function buttons which are accessed via the LCD screen. The front of the camera (just beneath the lens release) is home to a lever which can be customised to quickly swap between two contrasting settings. I’ve left mine set, as it was from the factory, to alternate between mechanical and electronic shutter.

One of the first things I did was to reassign exposure compensation to my G9’s rear dial. Coming from a camera with a bespoke compensation dial I certainly didn’t want to have to use two controls to change the exposure of my images. The only slight niggle is the fact the original exposure compensation button can’t then be reassigned to something else. I guess the function of the three buttons on the top of the camera must just be hard wired in.

Touchscreen tribulations

For my hands the stretch to the G9’s screen is greater than on the GX8 but I’ve quickly learned to extend my hand to reach the nether regions of the screen. Having touchscreen focus set to Offset rather than Exact is helpful here, as it removes the need to reach the far left hand edge of the screen. Another frustration (albeit a first world one!) was the discovery that the cashmere flip-top gloves I normally use in winter don’t work with the G9’s touchscreen. On the GX8 there’s enough skin contact through the fabric to select my focus point but on the G9 they simply don’t work at all. I guess Panasonic must have used a different type of screen on the newer camera.

Luckily, I’ve found some alternative gloves which work a treat. They’re thin enough to be able to feel all the buttons, the touchscreen responds perfectly, and I can even wear fingerless gloves over the top if I need to. If only I had better circulation it wouldn’t have been such an issue!

A viewfinder to die for

When I first handled the G9 one of the wow factors was the enormous viewfinder. 

I know many DSLR purists are sniffy about electronic viewfinders, but I think this is generally because they’ve never tried one. The G9’s viewfinder is truly awesome. First impressions give you the sense you’ve almost climbed inside the camera, into an alternate reality - it really does feel immersive. There is a slight pincushion effect around the edge of the viewfinder image but not enough to cause concern and it certainly doesn’t translate into the images the camera produces.

The electronic viewfinder image is bright and I get no sense that I’m not seeing a true to life scene. The viewfinder’s refresh rate is very fast and I’ve noticed no lag. The other big advantage of using an EVF is its ability to show the picture as it will be captured. In an optical viewfinder you don’t see the real-time effect of any exposure compensation, making things more challenging when shooting very dark or light scenes. With an EVF you see the effect of any exposure compensation adjustments immediately, making it easier to achieve the right result without experimentation.

The G9 has so many thoughtful touches but there is one which will be particularly useful for those who regularly shoot in the dark. Panasonic have added a Night Mode, where the LCD screen and EVF can be set to only show red tones. While this can make colour photography a challenge, it does mean that your night vision won’t get ruined every time you check the viewfinder or screen.

Panasonic giveth and Panasonic taketh away....

One feature I do miss from my GX8 is its tilting viewfinder, but I guess one can’t expect to have everything! The G9 EVF does have a rather clever trick up its sleeve though. Because it’s so large Panasonic have added a button to the side which reduces the size of the image inside the viewfinder. This may seem odd, but for those who wear glasses it can be really helpful. Glasses move your eyes away from the viewfinder cup, making it harder to see the whole frame in one sweep. Reducing the size slightly makes this easier and, as a part time glasses wearer, this will be useful.

A shot like this would have been easier with a tilting viewfinder but the articulated LCD screen proved a worthy alternative!

As a final comment on the viewfinder, I have noticed that its placement on the camera is really helpful. The GX8 EVF is positioned on the left-hand side of the camera. For street photography this is useful as you can shoot with both eyes open, allowing you to scan the street for action that’s about to enter your frame. However, when shooting with an extreme telephoto lens, the fact that the viewfinder isn’t aligned with the lens makes it harder to locate distant subjects quickly. I’d never really thought about this until I used the G9, where viewfinder and lens are aligned.

A stealthy camera

Mirrorless cameras have one function which just isn’t possible on a DSLR - silent mode. The ability to switch to an electronic shutter is a huge bonus in situations where the click of a mechanical one would be intrusive - when photographing a concert, for instance. It’s not without its disadvantages though. Because the electronic shutter doesn’t capture the whole scene instantly, banding can occur under fluorescent light, which flickers at a regular speed. I’m wise to this now and if I think the lighting will cause problems I’ll take a couple of test shots before I shoot anything critical.

Fortunately, the G9 has another ace up its sleeve - an exceptionally quiet mechanical shutter. I didn’t really consider this until I took some photos in the peace of a church and it struck me how subtle the noise is. No, it’s not silent but it’s certainly quiet enough to be unobtrusive in all but the quietest of places.

Photographing in Thaxted Church made me realise just how quiet the G9's shutter button is

Speaking of the shutter, I don’t think I can recall ever encountering one as sensitive as that in the G9. Initially I found myself taking inadvertent photos of all sort of rubbish - mostly my feet - as I caught it by accident. Over time though I’m doing this less and the super-soft touch is a bonus at slow shutter speeds as the gentler shutter press movement is much less likely to cause camera shake.

Image quality

Having covered the practical matters of handling and usage, it’s time to assess the G9’s image quality.

In recent years micro four thirds cameras have improved enormously and now rival many DSLRs for image quality. The G9 doesn’t have an anti-aliasing filter, allowing for more detail and clarity than images from the GX8. The colours are beautiful and the clarity of images from the camera is astonishing.

I know many DSLR users will boast that their cameras have better dynamic range than those with smaller sensors. In my experience though I haven’t found this to always be the case.

In the days when I was shooting with the GX8 and a full frame DSLR I often found I could achieve a wider range of tones on the smaller camera. Frequently I’d be able to pull detail from highlight areas in GX8 RAW files where I’d have to shoot several different exposures and combine them to achieve the same result with my Canon 5DIII. This is certainly also the case with the G9 and I remain content with my choice to downsize.

I was able to pull plenty of detail out of an apparently bland grey sky here, thanks to the G9's dynamic range

Yes, there is a higher level of noise at extreme ISO settings on the G9, but I have yet to find this presents me with an insurmountable problem. My fast prime lenses allow me to keep the ISO settings lower much of the time, and when this isn’t possible, I’ll happily shoot up to ISO6400 - a full stop faster than on the GX8. The resulting images tend to be grainy in the shadow areas (which can be remedied in post processing) but detail is retained where it’s needed. I believe this is one area where Panasonic worked hard to retain more detail at high ISO settings on the G9, particularly in comparison to the videocentric GH5.

This was shot at ISO6400 but there's still plenty of fine detail in the bluetit's feathers

Stabilisation

Since switching to a mirrorless system I’ve really noticed how much easier it is to shoot at slower shutter speeds. A large part of this is the smaller, lighter form factor but in-body stabilisation (IBIS) helps too. The IBIS on the G9 is, frankly, phenomenal! I haven’t fully tested its limits yet but I’m aware of other photographers who are able to shoot exposures of more than a second and achieve sharp results. I really noticed the benefits when I was photographing the chapel at Gonville and Caius College in Cambridge soon after I took delivery of my G9.

The light levels were low and there were some shots which just weren’t possible with a tripod through lack of space. Shooting with a small (unstabilised) prime lens I was able to take crisp pictures at 1/5 of a second, allowing me to set a lower ISO and reduce the risk of noisy images. I’ve never been able to do this on any other camera.

Being able to hand hold the G9 at a stupidly slow shutter speed allowed me to shoot this at f8 and achieve a good depth of field, rather than having to shoot wide open.

When shooting with Panasonic lenses which are compatible with the manufacturer’s Dual IS 2 technology (such as the latest versions of the 12-35mm and 35-100mm f2.8 lenses) I have no doubt much slower exposures are possible too. When paired with such lenses the dual IS is reckoned to give no less than 6.5 stops of stabilisation. I understand this is as far as stabilisation can currently be stretched, as beyond that the rotation of the earth begins to counteract it!

The moment when Dual IS 2 really comes into its own is with super telephoto lenses, such as the Leica 100-400mm and the new 200mm f2.8 prime. I’m not lucky (or rich) enough to own the prime lens but the 100-400 pairs beautifully with the G9. For most images I shoot with this lens a high shutter speed it necessary because the subject is moving fast – for instance wildlife or motorsport. However, I was able to use a slower shutter speed than normal when photographing a Spitfire revving up its engine on the tarmac at Duxford recently. This blurred the propellers nicely but the aircraft (which was stationary) remained sharp.

Autofocus tracking

One of my reasons for buying a G9 was to consolidate my kit into one photographic system. I wasn’t prepared to do that until I was convinced a tool existed that could at least match my Canon 7DII for focus tracking and speed of shooting. I’d seen plenty of sample images online but there’s nothing quite like trying a camera for yourself so I took the plunge. I’m happy to say I haven’t been disappointed. I’ve now used the G9 to shoot wildlife, aviation and motorsport and in all three genres it behaves impeccably.

In common with any high-end camera designed for action shooting, the learning curve has been pretty steep. A chat with sports photographer Ian Cook gave me some useful pointers and I’ve comprehensively experimented with the myriad of focus settings. I’m now beginning to find out which modes work best for which genres of photography, although my methods will no doubt evolve further over time.

Settings for static subjects

For static subjects I invariably use a small single focus point and this works perfectly, as you would expect. In dark conditions, where I’m shooting handheld I will also engage AFC mode. This is a trick I learned in my Canon days from wildlife photographer Andy Rouse. The reason for this is that, while my subject (a statue in a dark corner of a church for instance) won’t move, I might do as I breathe. Using AFC allows the camera to adjust to any micro-movements and gives me a better chance of a sharp image. Obviously, if the camera is on a tripod and my subject is static this is not necessary. I’ll also use AFC when photographing a subject that’s a static distance from me, but which may move a little – for instance a bird sitting on a branch.

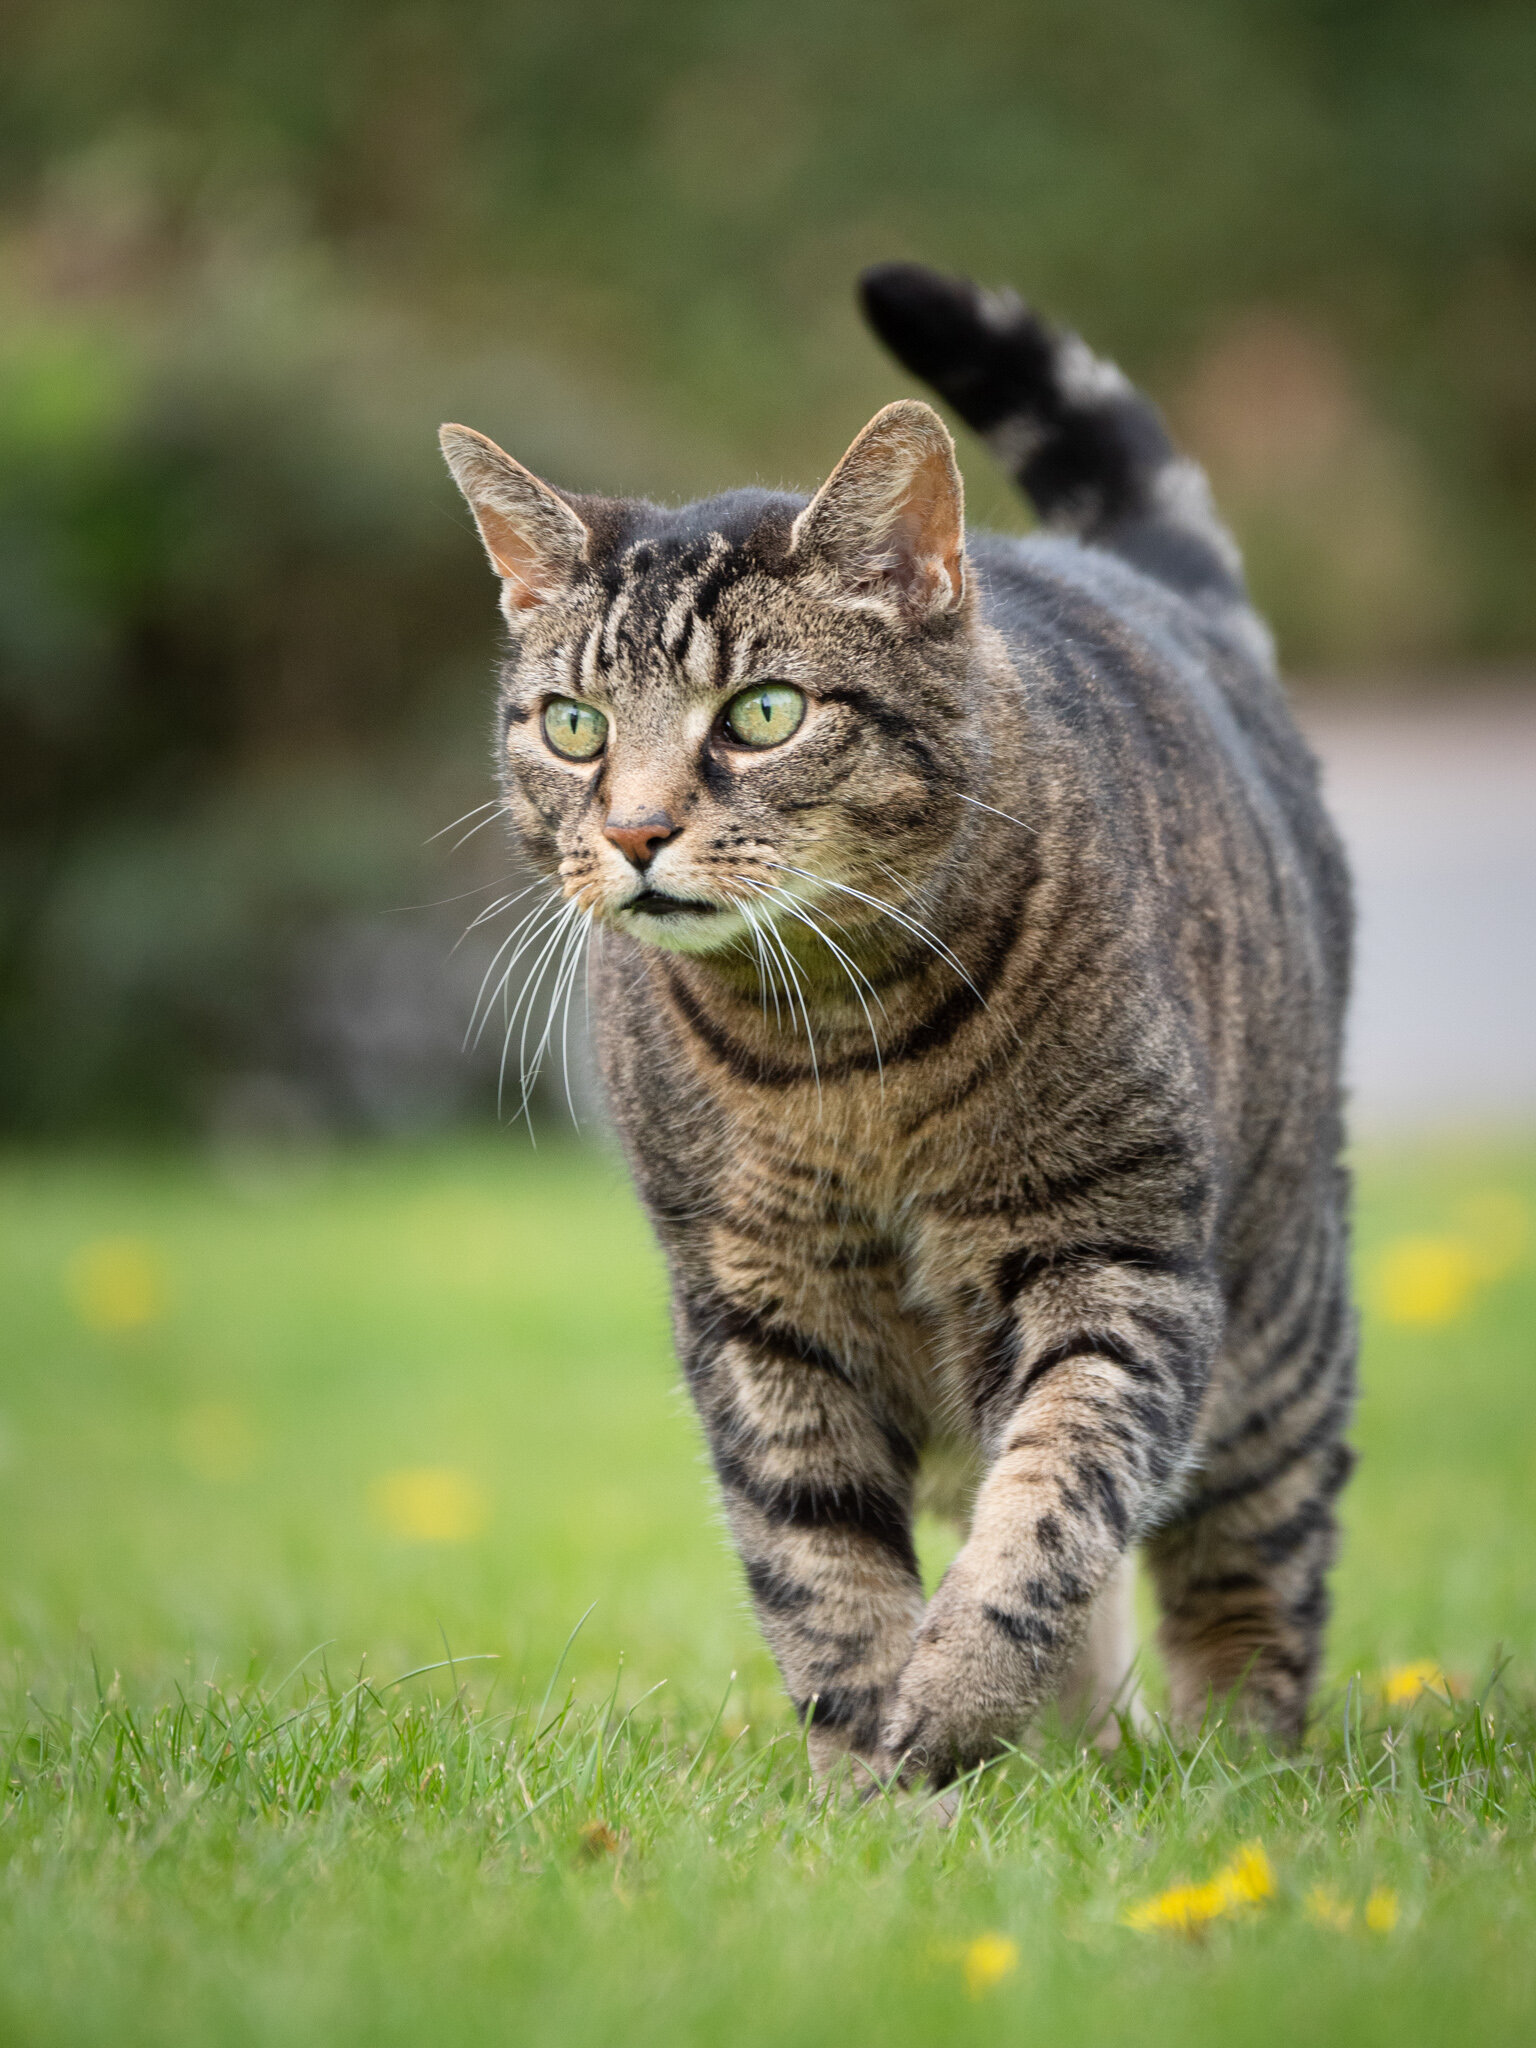
Shooting a black cat in a dark room is about as hard as it gets for autofocus but the G9 didn't miss a beat

Moving subjects

When it comes to action I’m still learning but I’ve established that the G9’s tracking mode just isn’t very good! For a single moving subject against an uncluttered background it can cope, but how often do we get that combination? Instead I generally choose between a single focus point or use a combination of multiple focus points, both in combination with AFC mode. A single focus point can be made any size you like so I’ll often set a pretty large one at the position where I want my subject to be in the frame. I then simply ensure I keep the subject beneath it and pan with the movement. This works really well for aircraft in flight and was a technique I used successfully on the GX8.

Another option I’ve tried is to select a group of focus points, deciding for myself how big a spread they cover. This works well, but gives a little less control over which points activate as I pan with the action. The final option is to use all 225 focus points and let the camera follow my subject across the viewfinder. This works really well for action where the background isn’t cluttered. I suspect it might struggle when faced with a busy background though. I can see I’m going to have to experiment further with this when I shoot motor racing at Goodwood next month.

The light has been uniformly awful since I bought my camera but, even so, I was able to track this Canada Goose taking flight. Roll on springtime....

The other parameter I’ve experimented with is using back button focus. I’d never used it before but Ian Cook strongly recommended it as the way forward. There have been times when I forgot my altered settings, leaving me wondering why the autofocus isn’t responding to my ever more frantic presses of the shutter button! Of course, that’s simply my inexperience of back button focus showing, and it doesn’t take me long to realise my mistake. Of course, the moral of that story is never to change your settings so radically for a critical shoot!

I’ve been impressed with the results of back button focus, but have found one flaw. I habitually use my right thumb to select my focus point on the touchscreen. Of course, this doesn’t work if my right thumb is also supposed to be on the AF/AE lock button to activate autofocus. That said, on occasions when I’m using a monopod it won’t be a problem as I can use my left thumb to set the focus point instead. I will continue to try both focusing methods and no doubt will come to a conclusion with more time and experience.

An extra setting I’ve modified for AFC mode is the focus/release priority, setting it to release. When shooting fast action there are always going to be moments when the camera simply can’t acquire focus quickly enough. With AFC set to focus the camera simply refuses to shoot until it can find focus, resulting in missed shots. Selecting release instead means you may get the occasional unfocused image but the camera quickly reacquires focus and invariably I’ll only lose one or two shots in a series of multiple frames.

This spinning car at Snetterton was one of a string of 28 frames I shot when things began to go wrong. Of the 28 shots there were only three which missed sharp focus.

The need for speed

With the G9 being marketed as a camera for wildlife and sports shooters, the subject of speed was always going to be crucial.

In terms of autofocus I can’t fault it. The focusing is quick and accurate, locking on pretty much instantaneously. The autofocus time is supposed to be 0.04 of a second but I have no way of checking that. All I know is it does everything I ask of it, incredibly quickly!

This robin, hiding from me in a beech hedge, should have challenged the G9's focusing abilities, with distractions all around, but it locked on swiftly and accurately.

As for continuous shooting speed, the possibilities are almost endless….

With the mechanical shutter in action and continuous autofocus engaged I can shoot up to nine frames a second, or twelve with single AF. The buffer can accommodate sixty RAW pictures before filling up so you’d have to be a pretty ardent ‘spray and pray’ merchant for that to be insufficient! Nine frames a second is plenty fast enough for most subjects I shoot but that’s not all this speed machine can do.

The mechanical shutter was more than fast enough to keep up with the cars on track at Snetterton

Engaging the electronic shutter opens up yet more possibilities. Once you’ve done this you can shoot no less than twenty frames a second with continuous autofocus and a mind boggling sixty with single AF. I’ve tried the slower of these two on a couple of occasions, but it was so hard to control how many shots I took that I ended up filling the buffer before I could say Jumping Jack Flash!

One situation where I may persevere with this is using an additional option called Pre-Shutter mode. Here the camera saves the eight frames before you fully depressed the shutter button as soon as you start shooting properly. It may seem a rather niche feature but when photographing birds it can be a helpful tool for catching the moment of take-off. Normally, by the time you realise a bird is taking flight and press the shutter button the moment has gone. This way you can respond as speedily as you are able, safe in the knowledge that the camera will also record eight frames before you react. It’s a slightly mind-bending concept but one that I will probably use occasionally.

A moment of avian bickering caught using the Pre-Shutter mode

Touch Shutter

One of my other favourite genres is street photography. With the G9 I’ve simply continued to use the same shooting habits I have with the GX8. On the street I select a largish single focus point, a fast enough shutter speed to freeze any movement, electronic shutter for stealth and the Touch Shutter setting. This way I can frame up my scene and wait for the right person to walk onto the stage I’ve set. When this happens I simply touch the LCD screen at the point where their face is and the camera focuses and activates the shutter in one seamless action. It works a treat and, because the camera isn’t up to my eye, my unsuspecting subject is usually oblivious to the fact that I’ve even taken their photo!

A candid moment caught on the streets of Cambridge

Looking at the larger picture

Panasonic made much of the G9’s high resolution mode in their marketing material at launch. This option uses the sensor’s ability to move (part of the IBIS functionality) to create larger files containing more detail. During the exposure the camera shoots eight separate frames, moving the sensor slightly between each one, and then stitches them together in camera to create either a 40 or 80-megabyte file. I’ve been impressed with the results, but it does have its limitations. All high res photos must be shot from a tripod as the camera has to be completely still. In addition, the camera automatically employs the electronic shutter (once again, to avoid any mechanical movement) so the longest exposure possible is one second. This limits the subjects you can shoot but for anyone who needs the ultimate resolution in something like still life or architecture it could be a real boon.

My first experiment with High Resolution mode - Gonville and Caius College Chapel, Cambridge

Conclusions

So, am I pleased with my purchasing choice? Absolutely! Given the specification of the newly announced GX9 I’m really pleased I didn’t wait the extra three months for that in the hope it would be everything I wanted.

The G9 has proved to be perfect for the enormous range of subjects I shoot. For architecture its image quality and increased ability in low light is wonderful. For action it has proved to be more than up to the task of tracking fast moving subjects and achieving an impressive hit rate.

There is one area where I will definitely continue to use my GX8 and that’s for street photography. The size and bulk of the G9 makes it more conspicuous on the street. I suspect for many people its form factor will lead to the assumption that the user is a professional and, therefore, someone to be suspicious of. By contrast, shooting with the GX8 makes me look more like a tourist so I can get away with more candid shots. Of course, people in the know understand it’s the photographer not the gear that counts but they’re generally not the people I’m aiming at!

I hope my journey with the G9 will be a long and fruitful one. I’m certainly enjoying using it and feel sure I will continue to find extra abilities hidden away in its menus for a long time to come.


Looking back at 2017

It's been a while since I did a review of my photographic year so I thought perhaps it was time to repeat the exercise.

In 2017 I continued to publish my daily photoblog and this means I have a huge number of pictures to choose from - I published no less than 1911 photos on my blog last year. While this gives me lots of images to choose from, when picking my best ten, it also makes the experience quite brutal. For every picture I select, there are nearly twenty I have to reject, which means I have to be very ruthless!

Making a first pass through my 2017 pictures, I selected a couple of hundred images which I then whittled down quite quickly. It was an interesting experience doing this, as it really gave me an insight into the sort of work I've done the most through the year. I've continued with lots of architectural photography, as well as plenty of animals but I found it interesting to see the rise in the amount of street photography I've been doing.

Traditionally I've never been a people photographer, and portrait photography is still something I find challenging. However, I relish the opportunity to go people watching and I love to capture those 'decisive moments', as Henri Cartier Bresson called them. A day workshop in street photography with Damien Demolder in December 2016 gave me some new techniques to try and helped build my confidence when it comes to capturing candid moments. This shows in my final ten images and I never expected my selection would include so many people!

Anyway, here's my selection as it stands today. Of course, being objective about one's own work is difficult and it could be that if I went through the process at another time I may come up with a different choice. I hope you enjoy my 'ten best'!

"The extrovert"

A day in London in January resulted in two of my chosen images, both of them from the street photography genre but very different in style. I found this girl hamming it up outside Hamleys toy shop in Regent Street and just love the contrast between her and the rather disapproving lady in the background!

"Unseen"

Trafalgar Square is a great place for people watching. Everyone has a camera in their hand, even if it's just their phone, so you can catch candid moments without being noticed. This piece of street art remained from the previous day, partly eroded by the passage of tourists' feet and I was struck by the way she was being trampled on, unseen by passersby. I had to wait a while for the right combination of feet to walk through the frame I'd prepared but my patience was rewarded.

"Shooting a reflection"

April saw me return to the motor circuit at Silverstone for the World Endurance Championships. Naturally, I photographed the action on track but this can be tricky at Silverstone because of the high fences. As we sat in the grandstand on the start/finish straight I started to look for unusual ways to shoot. I spotted these two photographers over in the pitlane, beside a mirrored wall, and knew immediately I just needed to wait for the right car to drive into my frame and create the reflection I was after. 

Ightham Mote

I visit a lot of National Trust places on my travels, but few of them got my photographic juices going in 2017 like Ightham Mote in Kent. This manor house has been lived in for over 700 years and it was fascinating to be able to see the history of the building through the changes made over the centuries. This particular view was my favourite of the day, with those weathered cobblestones leading you through the arch to the stables beyond.

"Reflections of Monet"

Hatfield Forest has continued to be an inspiration to me and my camera. I'm so lucky to work there and it's fascinating to observe this beautiful place through the seasons. I noticed this scene view while eating my lunch there over the summer and the combination of reflections and those glorious lilies made me think of Monet. No doubt most people would have focused on the lilies and trees but for me the reflections were the star of the show. 

My other life, as a musician, takes me all over the country so I get to visit lots of new places. Back in the summer I had a rehearsal in the Oxfordshire village of Watchfield and I went for a stroll at lunchtime with my camera. In the church I found this scene and was enchanted by the combination of that beautiful light and the exquisite arrangement of flowers by the window. Such a simple image but one that still delights me six months on.

"Here's that rainy day"

I continued my explorations in street photography on a rainy day at the end of August. When I say rainy, it was actually monsoon like at times, so it took real dedication to drag myself into London, knowing I'd get soaked! That said, I also knew there was the potential for some wonderfully atmospheric scenes, with shiny pavements and folks dashing to get out of the downpours. As it happens, one of my favourite images came towards the end of the day when the rain had eased off. I found this spot near St. Paul's Cathedral and immediately knew it had photographic potential. I carefully set my composition and patiently waited for the right character to walk onto the 'stage' I'd set. This chap, smartly dressed in a business suit, was the individual I was after and I was able to catch him at the perfect moment, mid-stride.

Racing into the night

One of my favourite events of the motor racing year is the Goodwood Racing Revival. There's something so photogenic about these old cars and it's immensely exciting to see classics (some of them worth millions of pounds) genuinely being raced wheel to wheel. On the first day of the 2017 Revival we had copious amounts of rain, but that wasn't going to dampen my spirits! I knew there was the potential for something magical at the first race of the meeting, which runs from day into night, with a wet track and the cars's headlights illuminated. Sure enough, as the field charged away from the start line, the air filled with spray and a Jaguar E-type slid gently off track. Suddenly it was worth getting soaked earlier in the day, having to tog up in full waterproofs and stay until the end of a very long day to get this shot!

"Rush hour in MId-Wales"

Every year I'm lucky enough to visit Llanerchindda Farm, near Llandovery, to teach on a music course. As well as being set in the beautiful Welsh countryside, the farm has this magnificent view down the valley towards the Cynghordy Viaduct. It's an endless source of fascination watching the weather and light change over the viaduct. The pleasure was also enhanced last because they'd finally completed a restoration of the stonework and all the scaffolding had gone. One morning I got up before dawn and waited patiently with my camera for the sun to emerge. My patience was rewarded with this scene - the perfect combination of warm dawn sunlight and mist. The addition of a train crossing the viaduct at precisely the right moment was the icing on the cake!

"Please Sir, can I have some more?"

I never tire of watching the natural world and it's an added bonus when you can get as close as I did to this robin. I regularly visit the RSPB reserve at Rainham Marshes, in Essex, where there is never any shortage of bird life to photograph. Before Christmas I'd heard there was a particularly tame robin living in the old cordite storage area so I went along armed with some mealworms. Sure enough, the robin was utterly fearless and I spent an hour or so watching and photographing his antics in return for some tasty treats, some of which he ate from straight from my fingers. Later that day I found one of the reserve's volunteers feeding the robin again and was lucky enough to catch this adorable picture, which reminds me of Oliver's request for more food in the musical of the same name!